


Growing up, decorating the Christmas tree was one of my favorite traditions – we’d put on Perry Como Christmas music, eat gingerbread cookies, and help my mom sort through our hundreds of ornaments. My parents always get an enormous tree, and the time, care, and decorating skills my mom puts into her tree is enough to rival the Rockerfeller Center’s tree!
Even though my mom has hundreds of ornaments, each one has a special meaning or memory – the nostalgia surrounding the holidays is so powerful, isn’t it?
While I can never come close to my mom’s tree, I do have some skills up my sleeve that I’d love to share with you. There are a few key elements that most people often overlook, so just follow my simple steps to add some “wow” factor to your tree.
While we only used about half of the ornaments we have, and we only put a couple of our most special delicate ones out (2 kids, 1 baby, 2 kittens…), you can still make a great impact with non-breakables!
Check out: DIY gift wrap | DIY painted ornaments | Gift guide for kids and toddlers
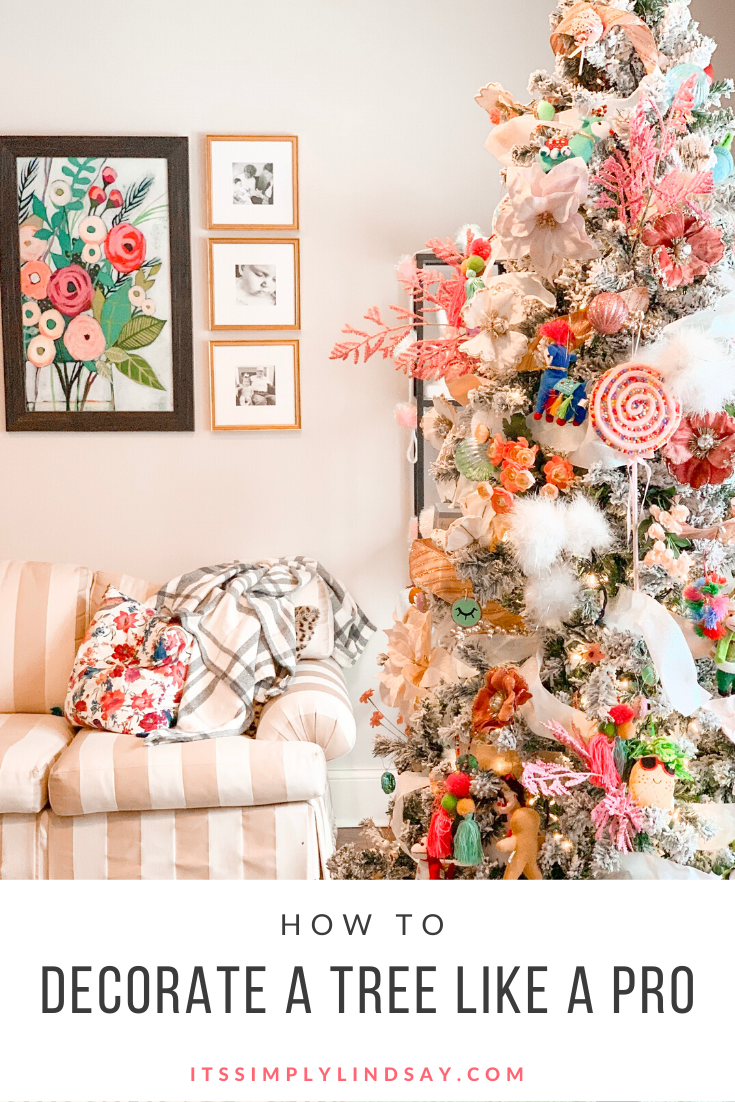
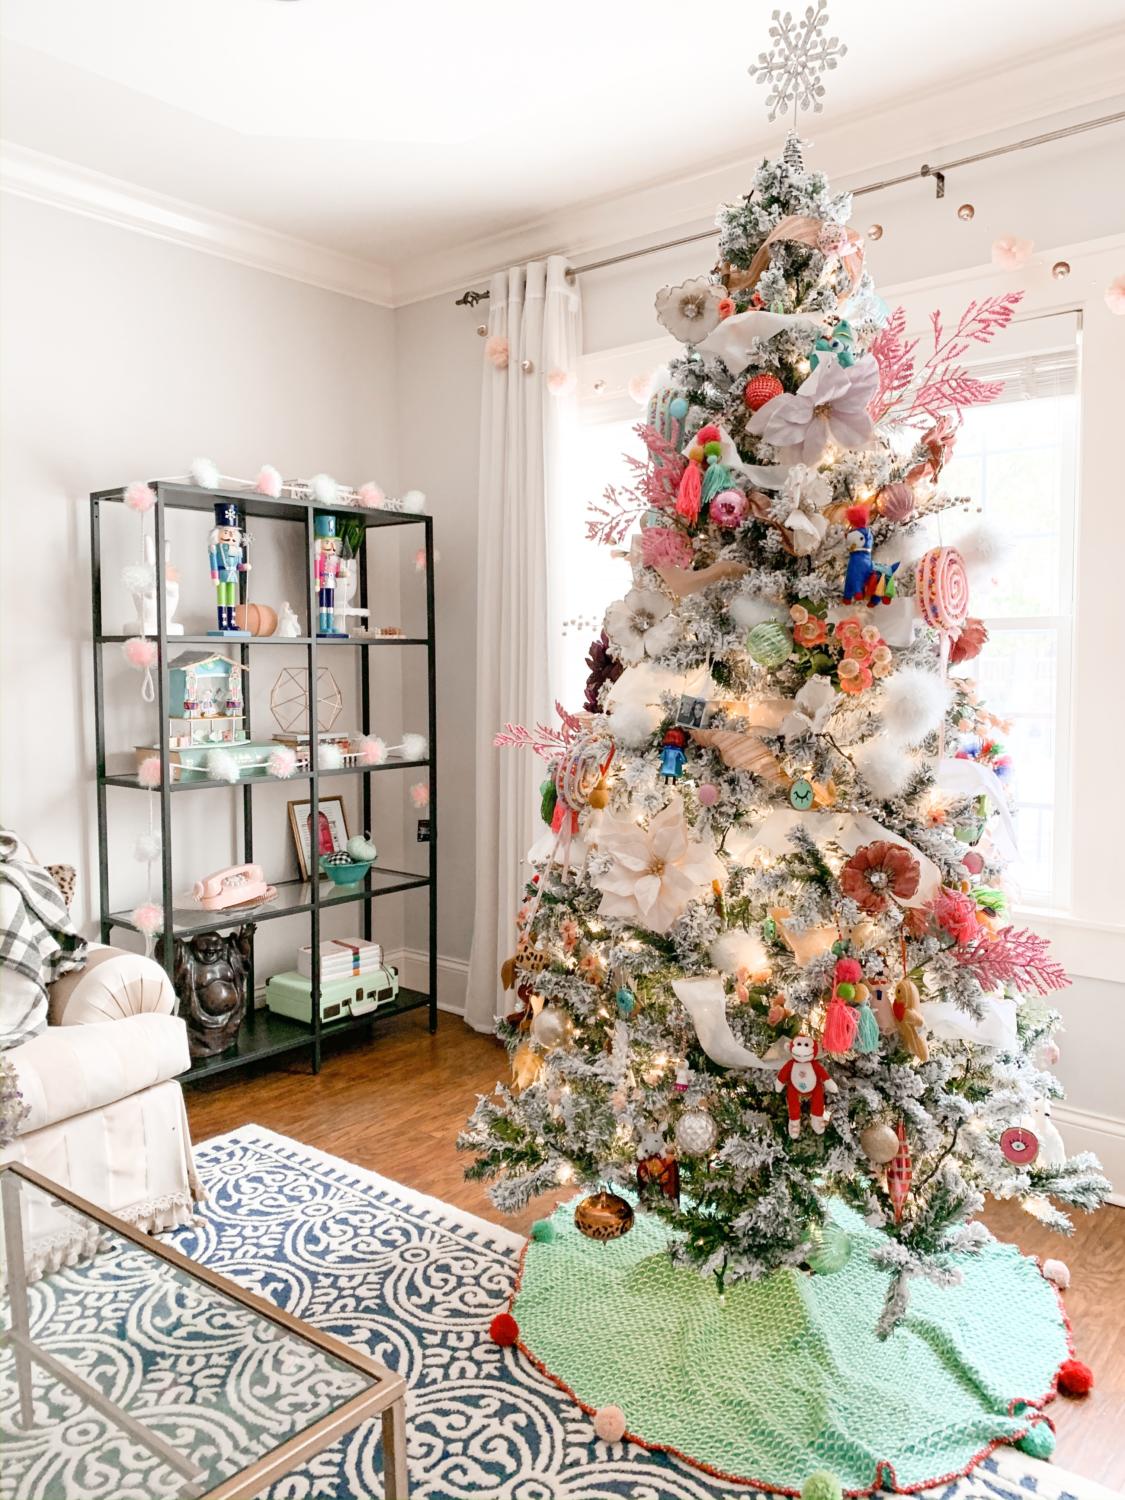
How to decorate a Christmas tree
This post contains affiliate links
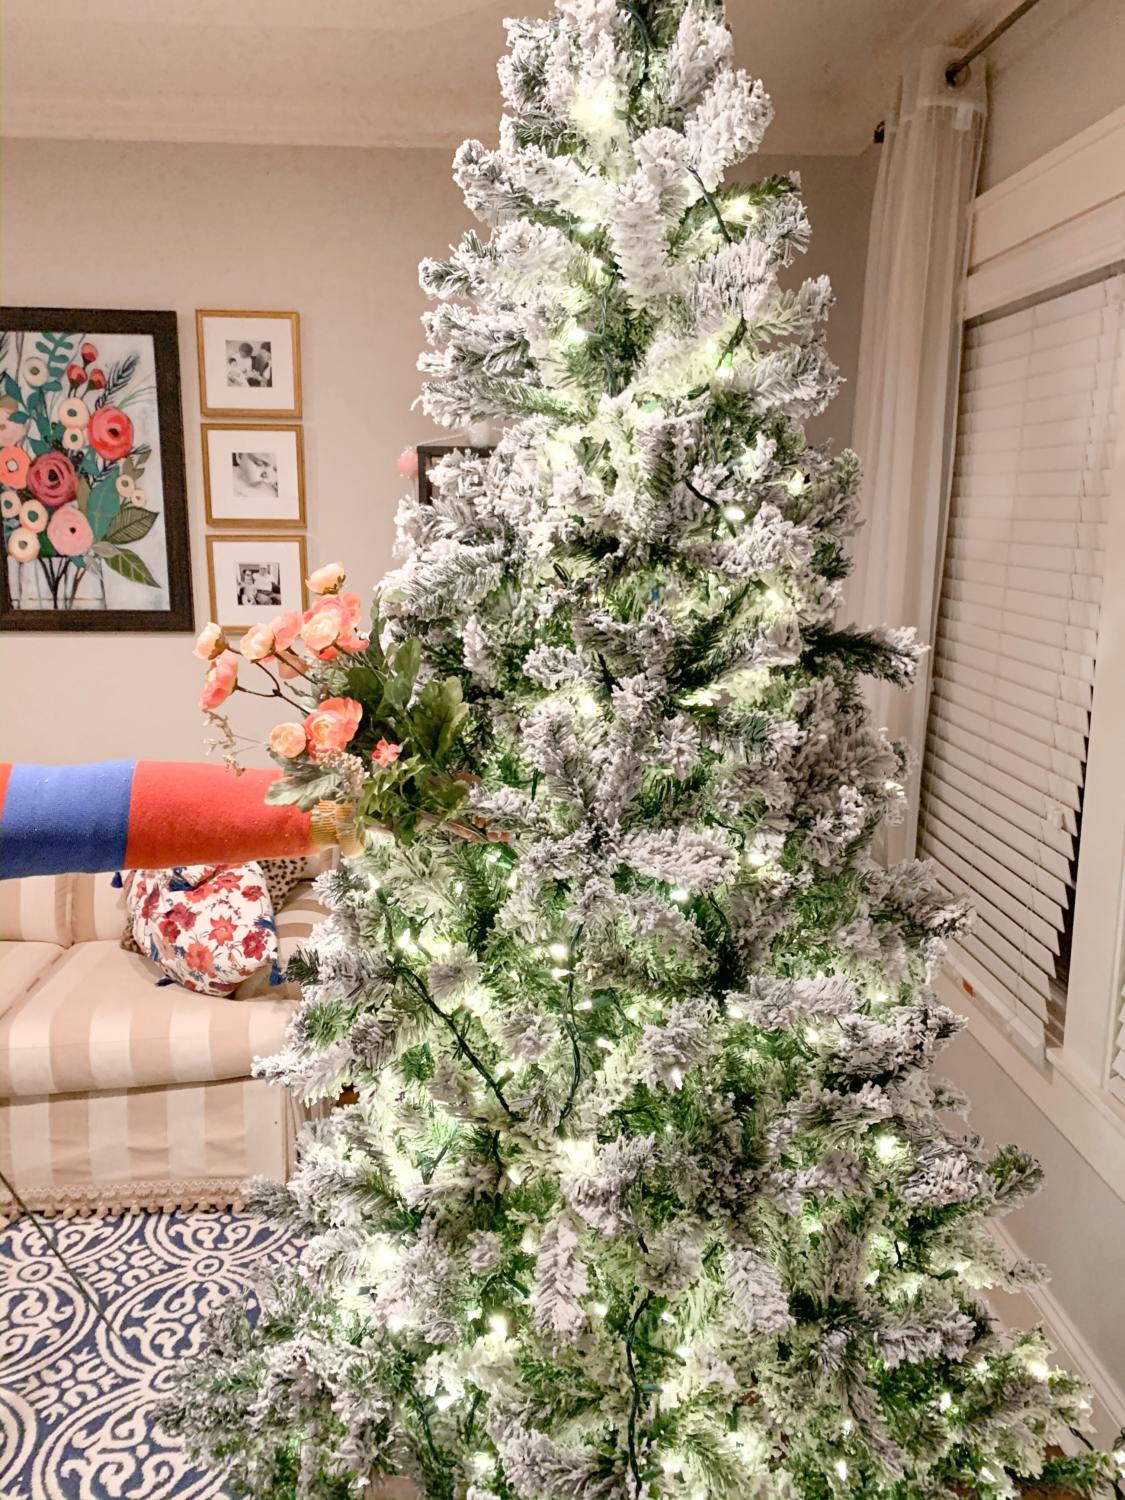
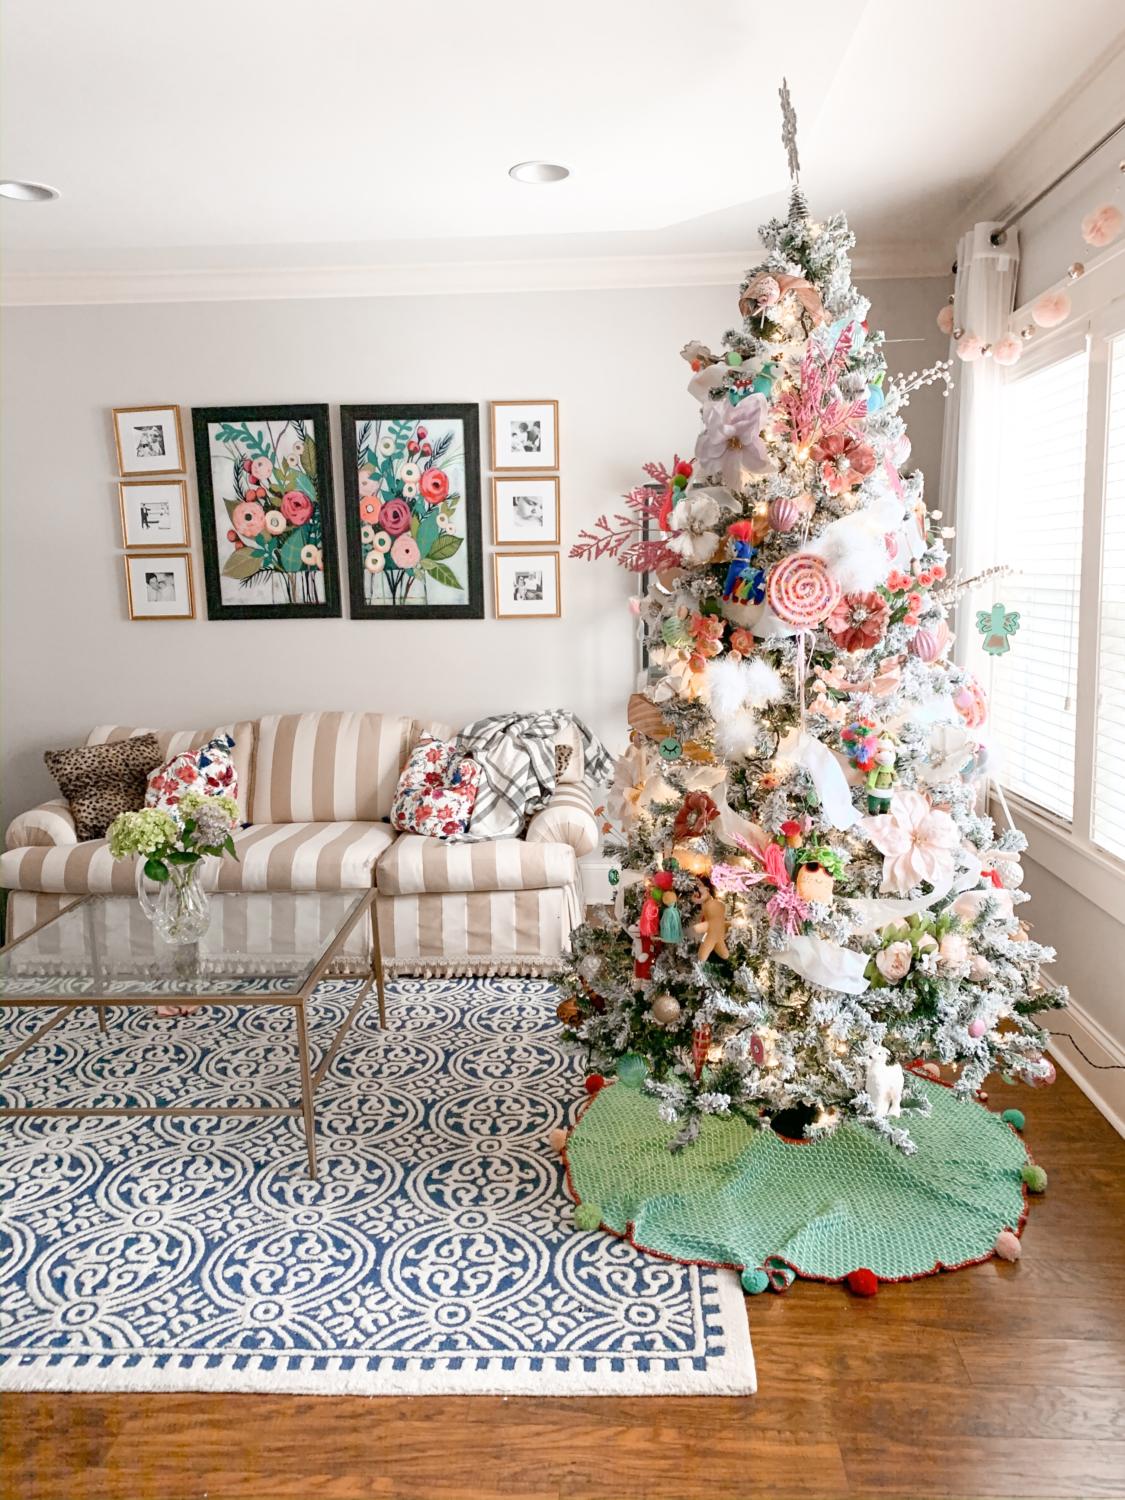
This is the first year we went with a flocked artificial tree, and I must say, once you go flocked, you may never go back. The key to a designer-looking tree is to start with a solid base – the tree itself, of course! Find one that works for your space – it’s not really the size of the tree but the fullness that counts.
Here are my top picks for full, lush artificial trees:

Step 1: lights
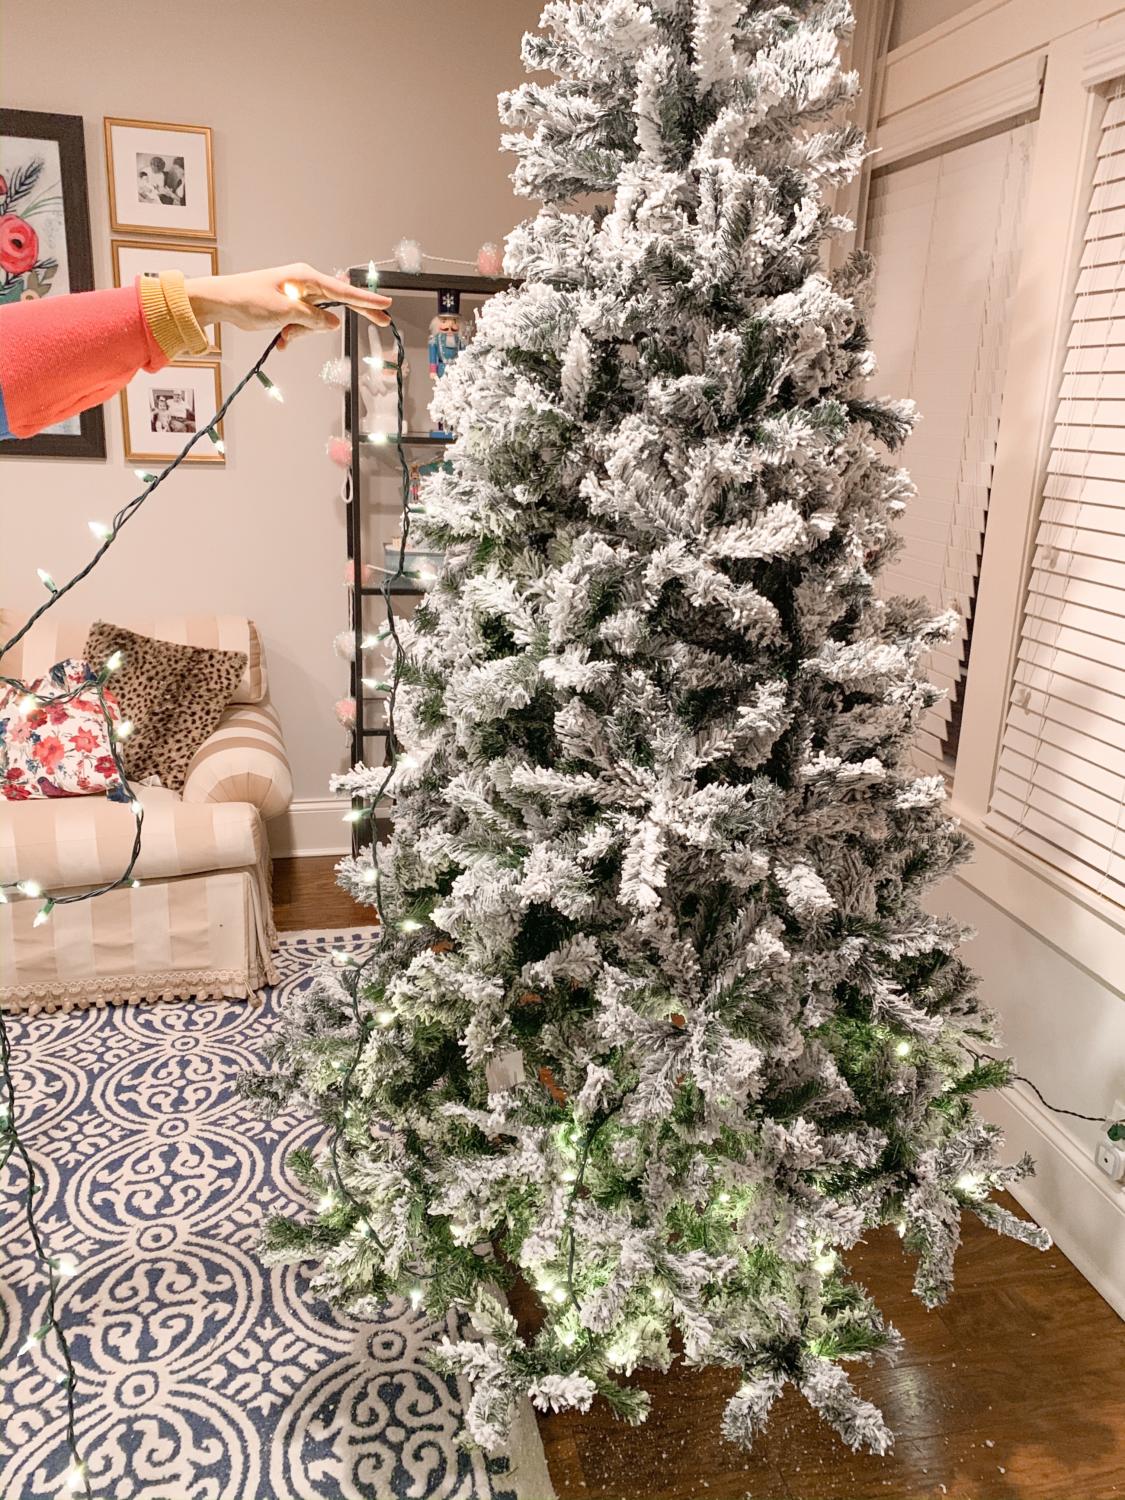
A good rule of thumb is 100 lights per every foot of tree. Most pre-lit trees don’t come with enough lights, so if you purchase an artificial tree, you can opt to add more to a lit tree or buy an unlit one to put the lights on yourself.
Start at the bottom, close to the trunk. Make sure to pull the lights taut to the end of the branch, then work back towards the center/trunk. Wrap the branches and get lights back inside the tree, not just around the perimeter.
Step 2: fillers
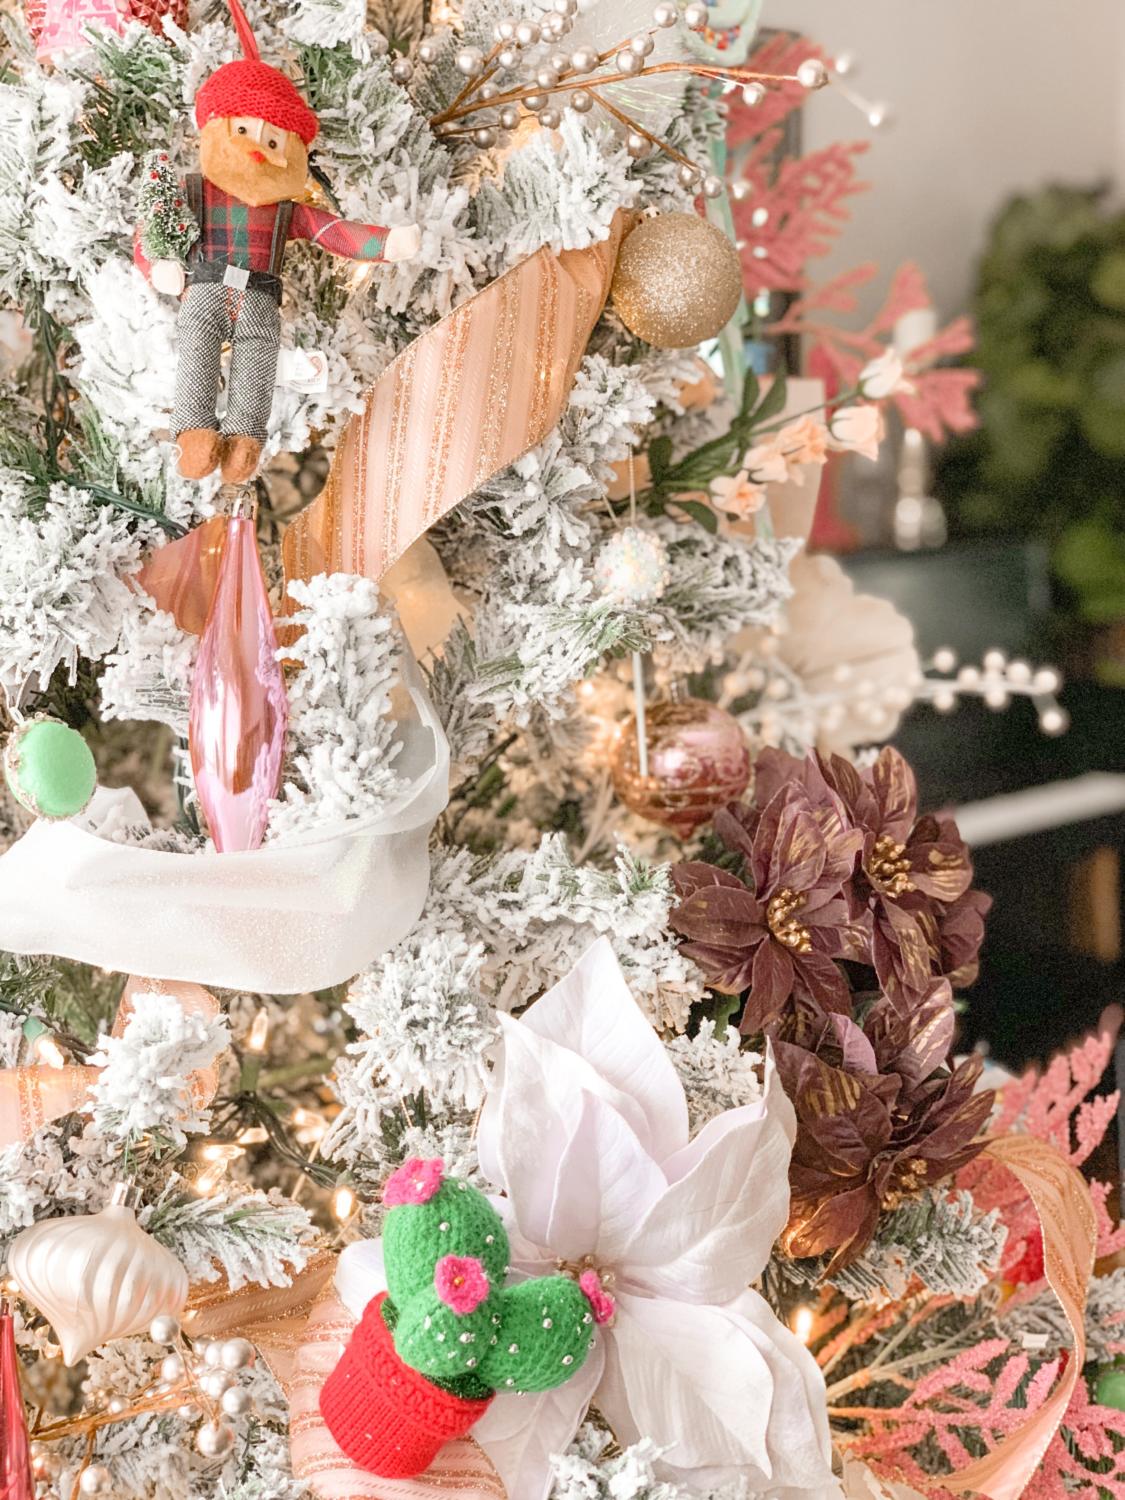
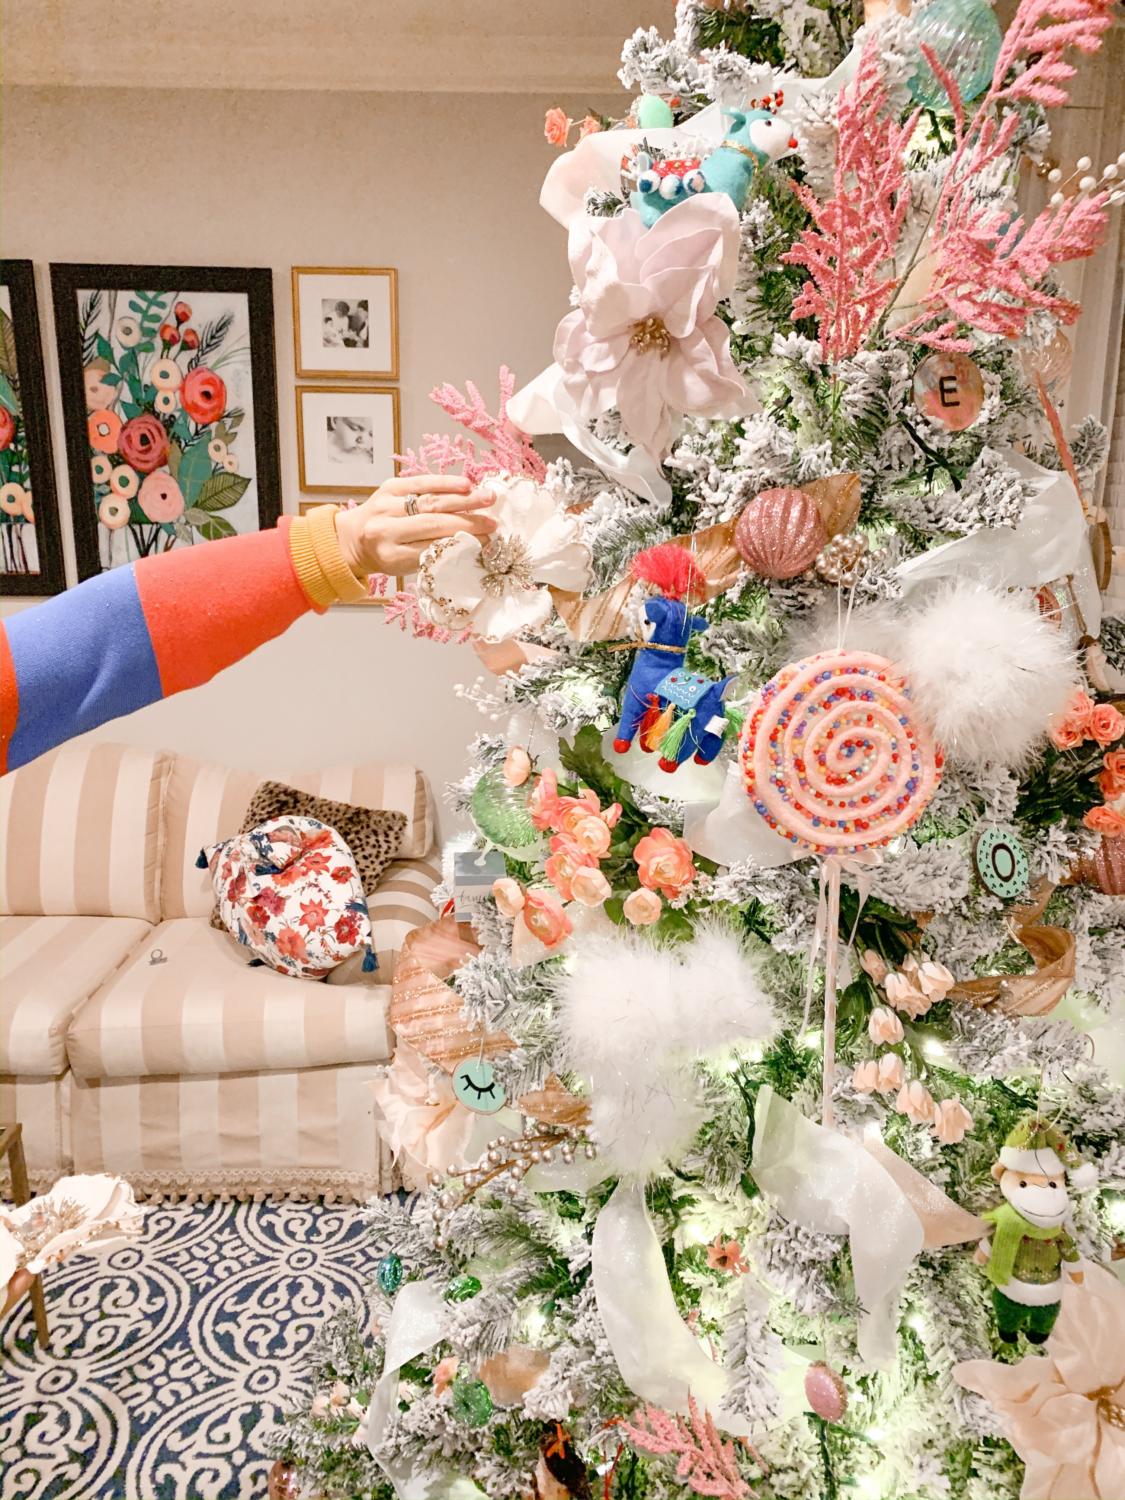
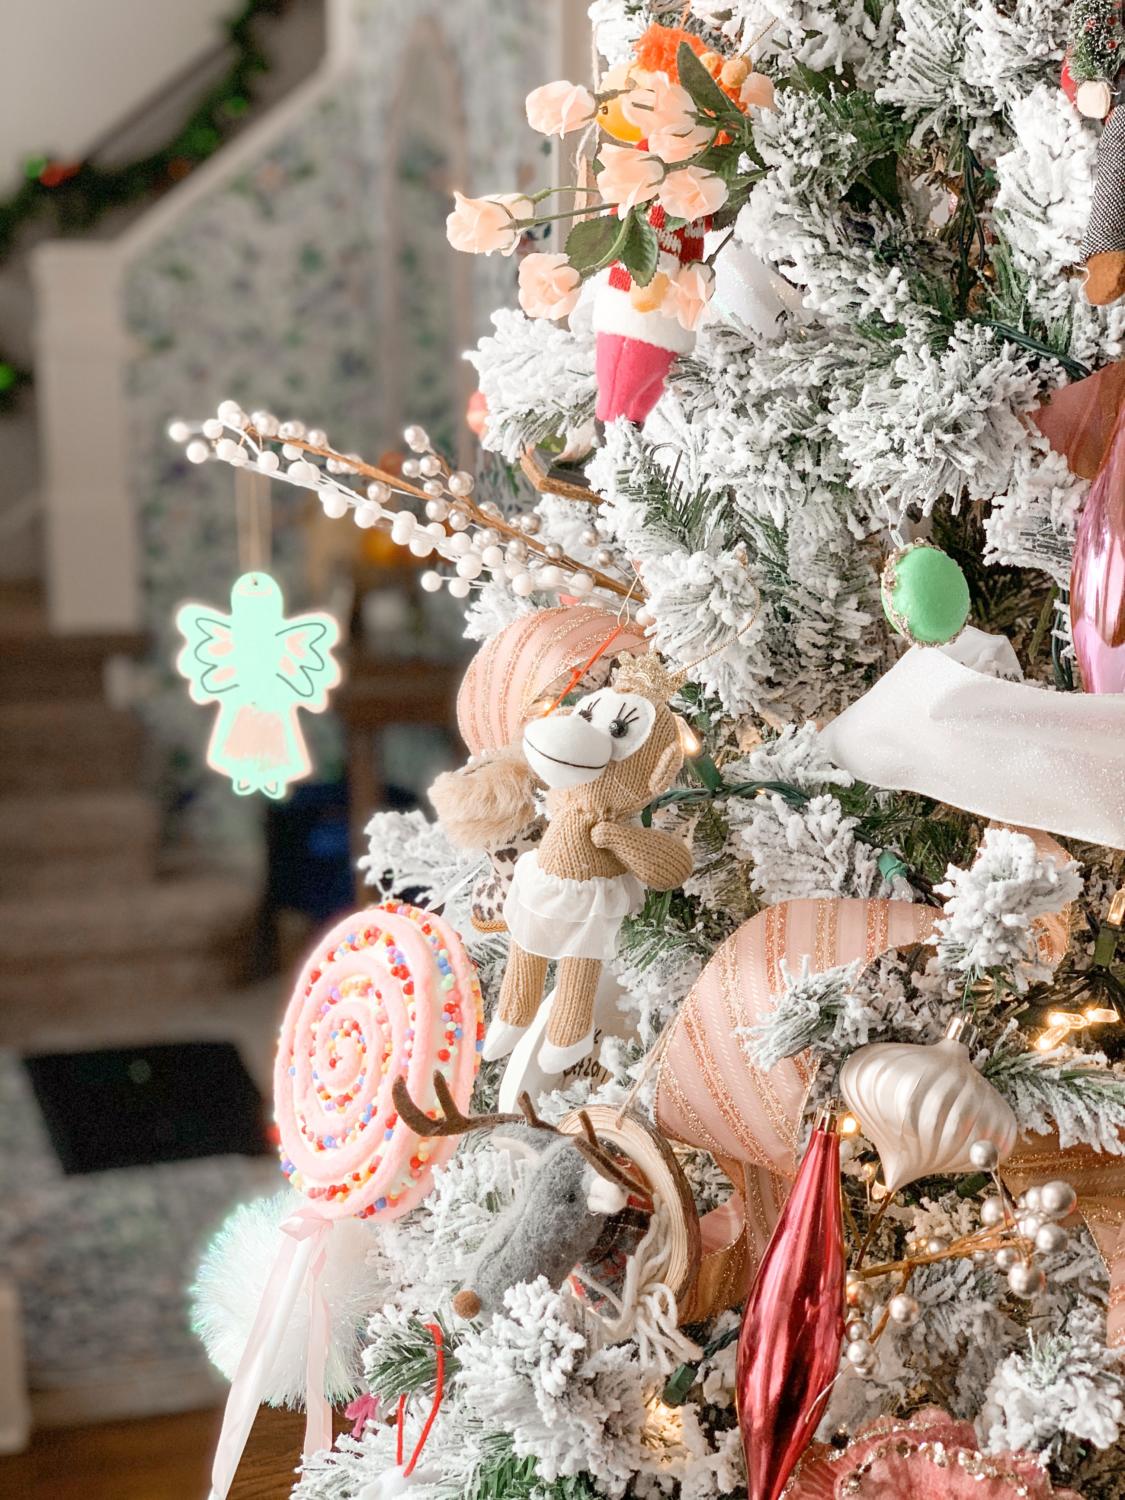
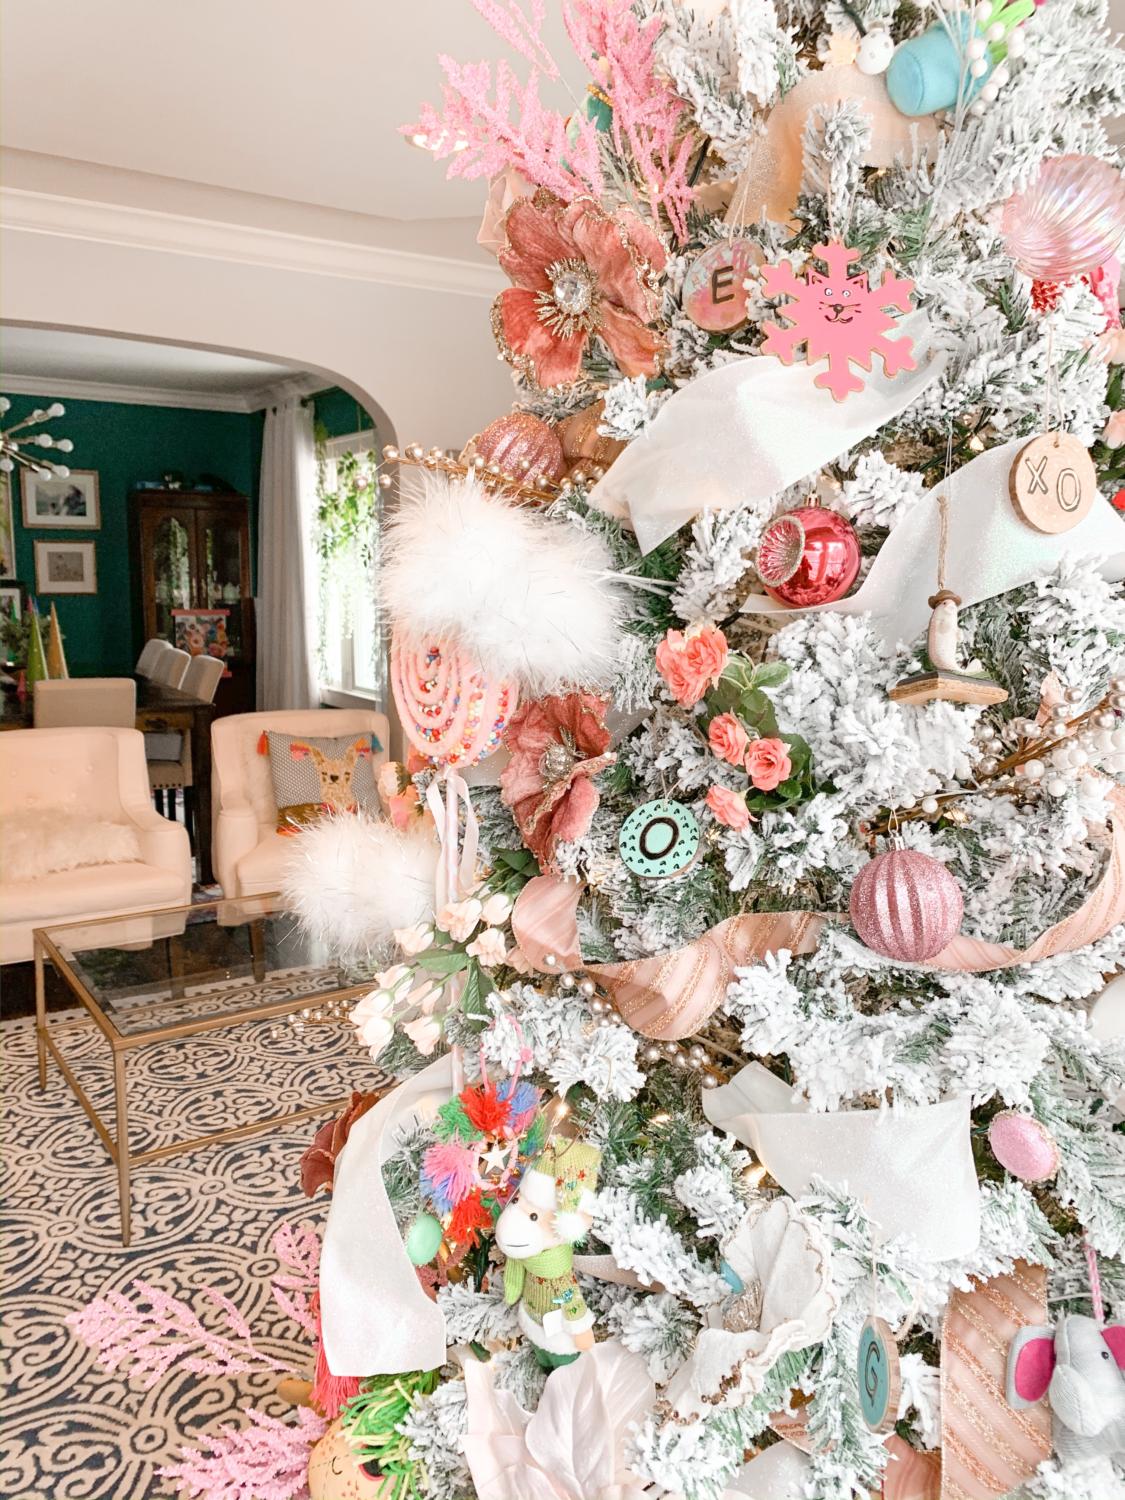
The most overlooked, underused, or unheard of step is my most favorite and the most important – fillers! Tree fillers are elements that you stick in the tree to fill up space, add visual interest, different height, shape, and textures. In the holiday section at the store, they may be called “picks.”
For my fillers, I use a variety of artificial flower stems & berries and puff ball picks.
Place your fillers all around the tree to start to fill in gaps and add interest. If you have multiple elements, spread them out so they’re not overly repeated by each other. Don’t use all fillers at once; I save some for the last step.
Step 3: ribbon
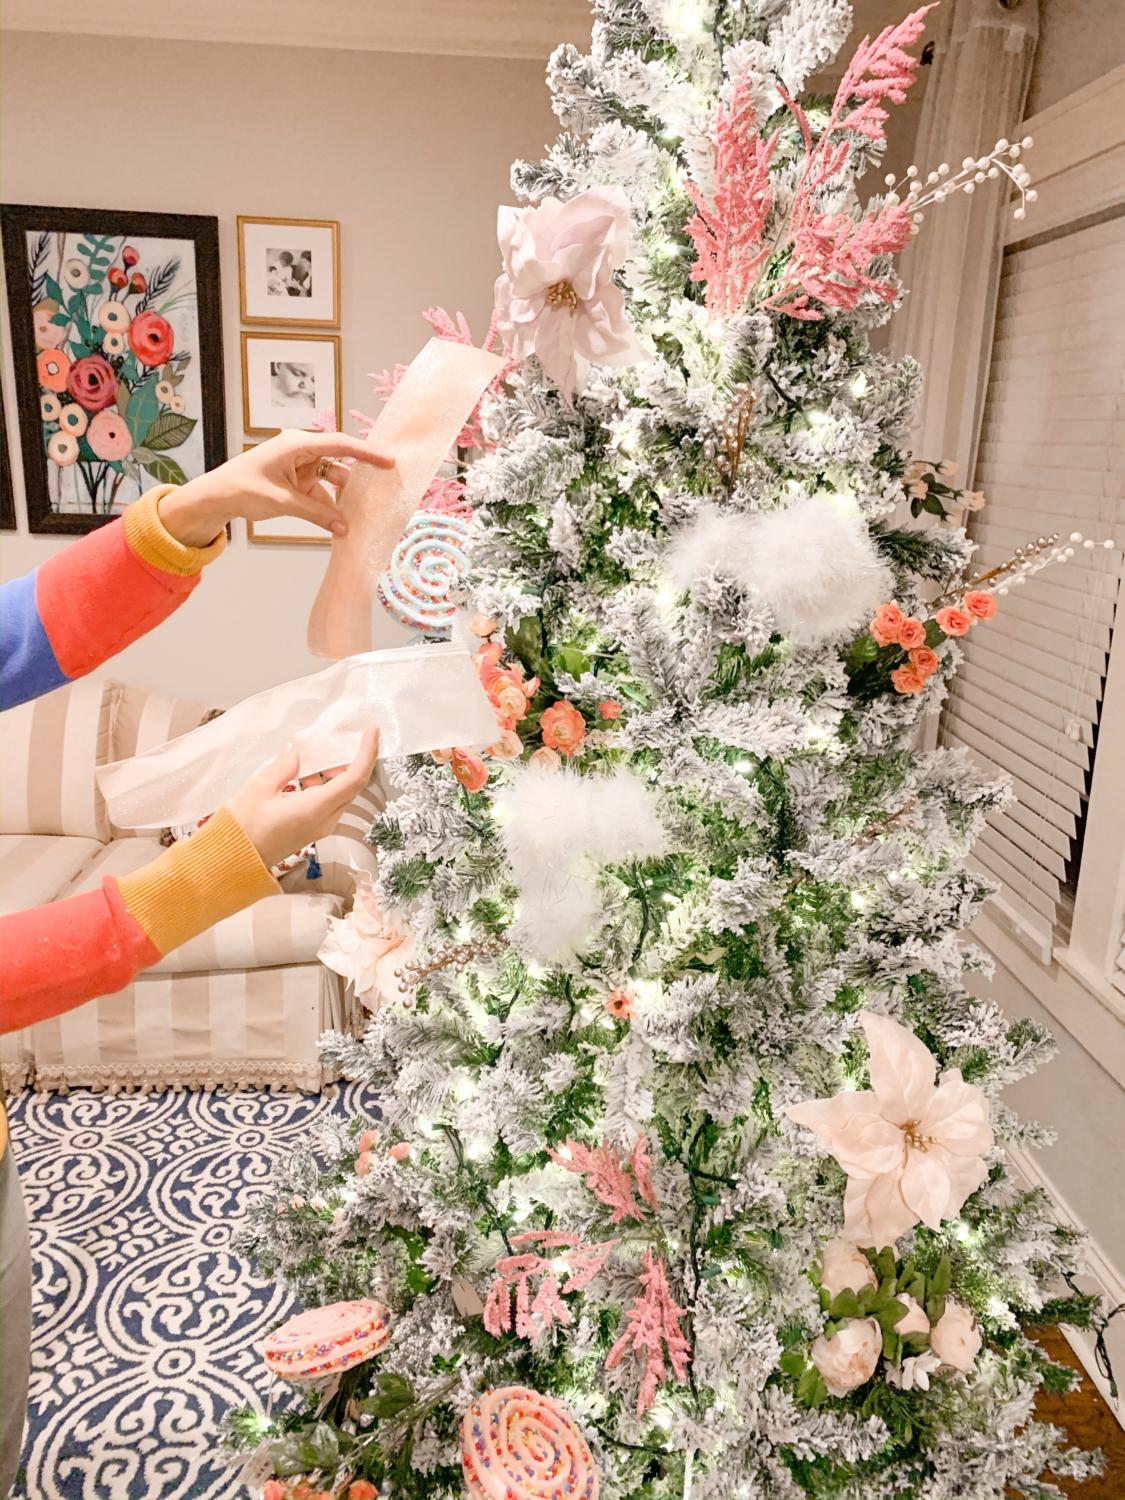
Now that my fillers are in, I add ribbon. I enjoy wide ribbon in the same color scheme as my tree, and I use two different ribbons.
Here’s my big tip: don’t simply unroll the spool of ribbon and wrap it around your tree. There is so much waste this way, and it’s harder to style it. Instead, cut various lengths of ribbon between 12-24 inches to play around with. This way, if you want to change something while you’re decorating or at the editing stage, you just have to pluck off one ribbon at a time.
Just take the length of ribbon and stick it in the tree, kind of curling it around the branches.
Step 4: ornaments
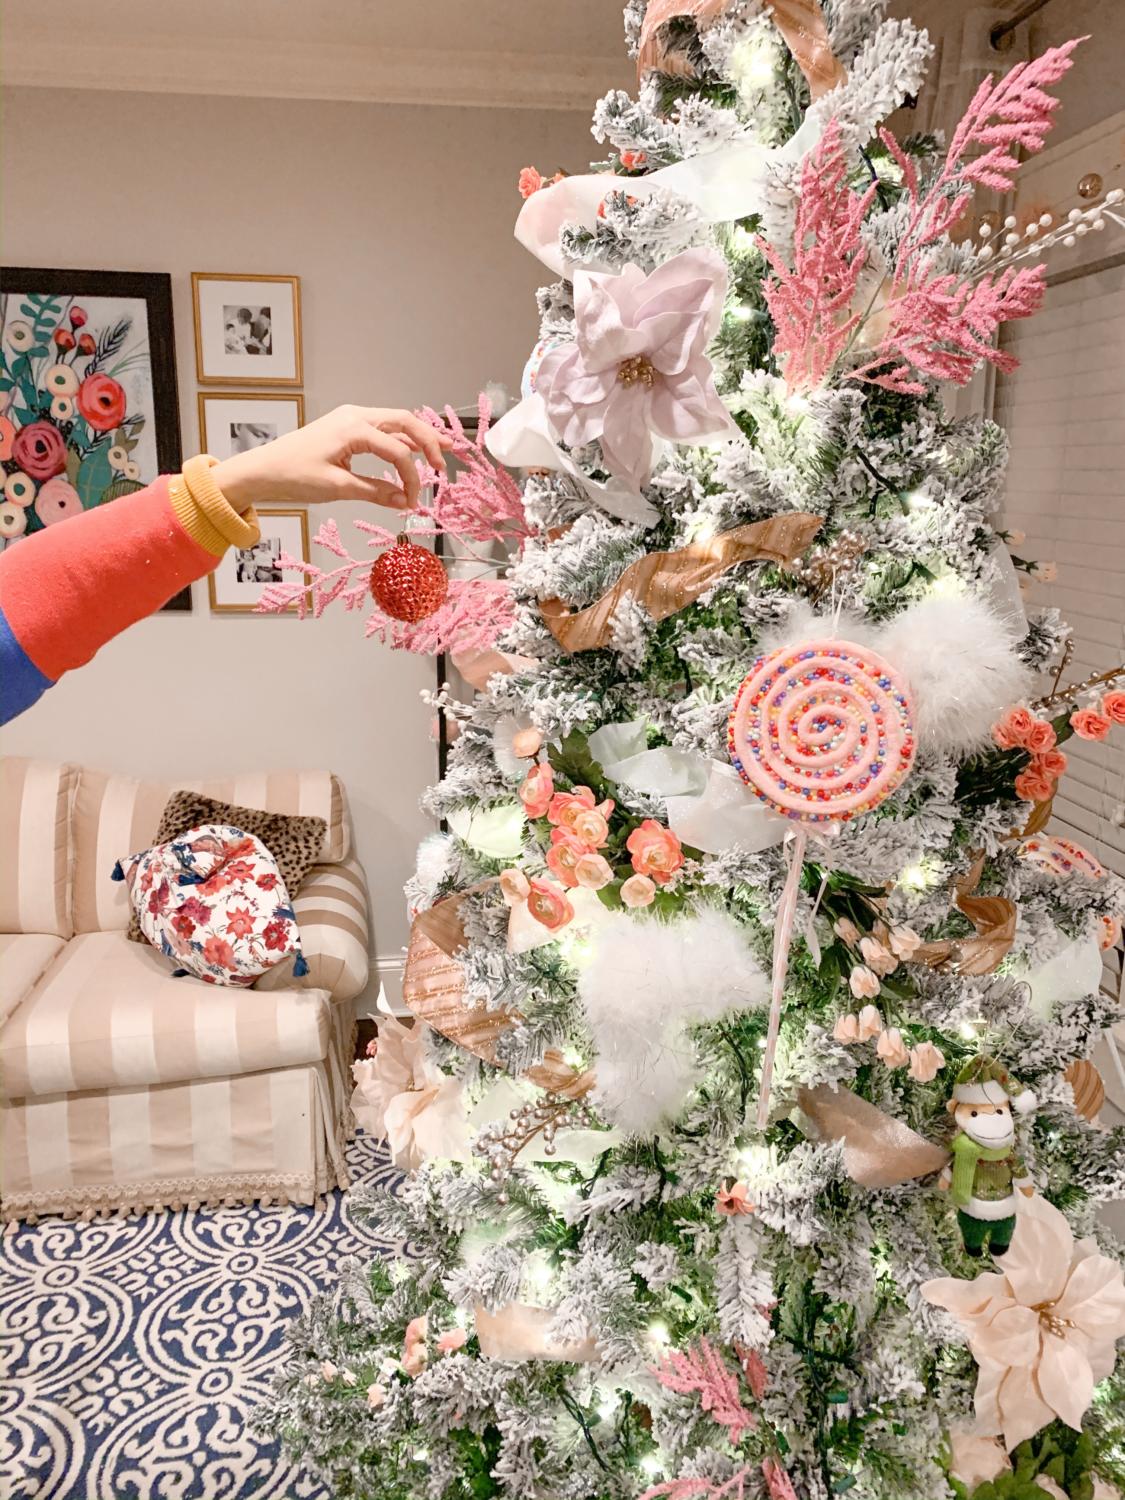
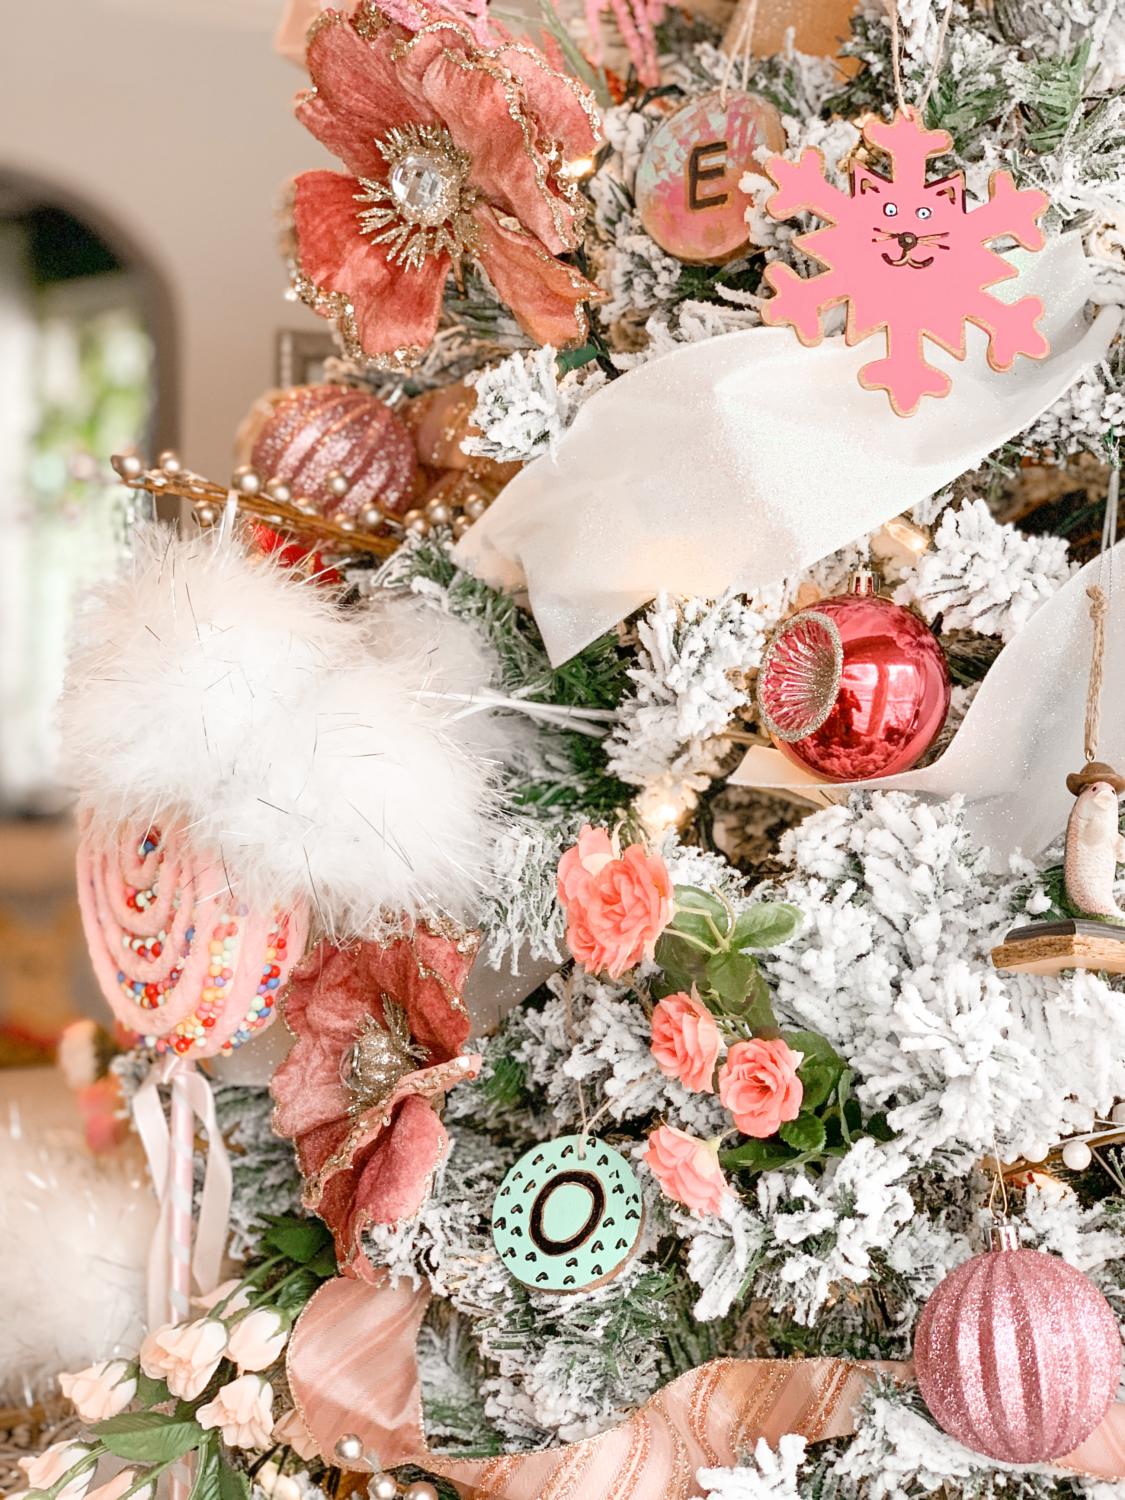
Now it’s time to add your ornaments – if you normally skip fillers and ribbon, you’re going to be pleasantly surprised at how incredible your tree looks without even putting your ornaments on!
Make sure to adorn all sides and heights of the tree; my kids’ job is to look for “lonely” spots to hang ornaments on. If you have babies or animals, don’t hang anything too close to the bottom. If you’re worried about breakables, don’t worry – we used non-breakable ornaments this year, and it still turned out beautifully!
I loved finding the ornaments we’ve made over the years. DIY painted ornaments | DIY Macaroon Ornament
Step 5: edit & fillers
Take a step back from your tree to assess your work – you may need to move or add ornaments, add fillers, or adjust ribbon at this point. Of course, you’ll want to add a tree skirt (or basket) and tree topper, too!
Lasting thoughts
I hope this helped give you a little direction or inspiration if you’ve been feeling blase about your tree decorating skills – let me know how you normally tackle the job in the comments!


Hi, I'm Lindsay!
Writer. Mom. Wife. Teacher. I'm passionate about family, manners, and learning and fervently stand up for (and write about) what I believe in. I strive to make myself and the world around me better through blogging. Don't forget to never say no to tea, cookie dough, peonies, or kindness.
My Favorite Posts
15 Lessons From My 7-Year-Old Self
March 2, 2016
13 Things I Learned About My Parents After Having a Baby
July 13, 2015

Why It’s Time to Get Rid of Basic B****
November 12, 2015

God Doesn’t Care About Your Last Name
October 16, 2016

