


This post contains affiliate links. That means at no cost to you, I receive a tiny commission. Thanks for supporting my blog!
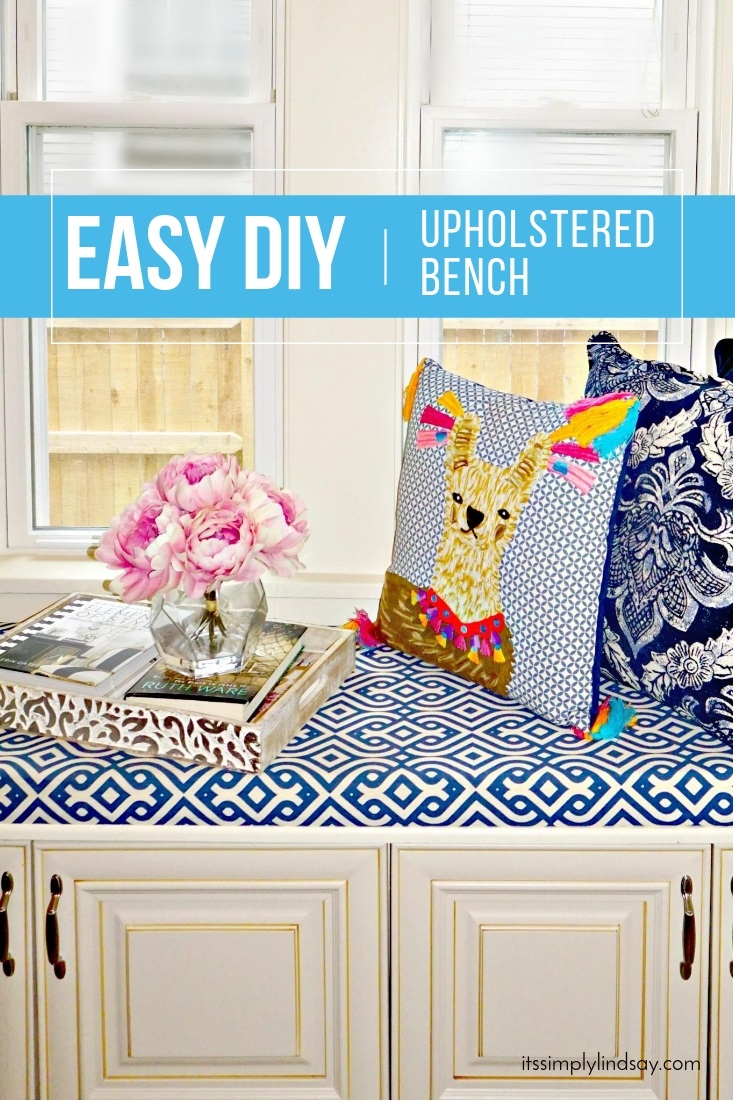
When you’ve been searching for a DIY bench for your window seat, piano, or chair cushions, most likely all the “easy” projects weren’t so easy – at least for your level. So if you’re looking for a truly EASY DIY no sew upholstered bench tutorial, look no further.
I can attest to its simplicity and results because I don’t have many crafty or handy bones in my body yet have high standards. This projects fits my skill and taste level.
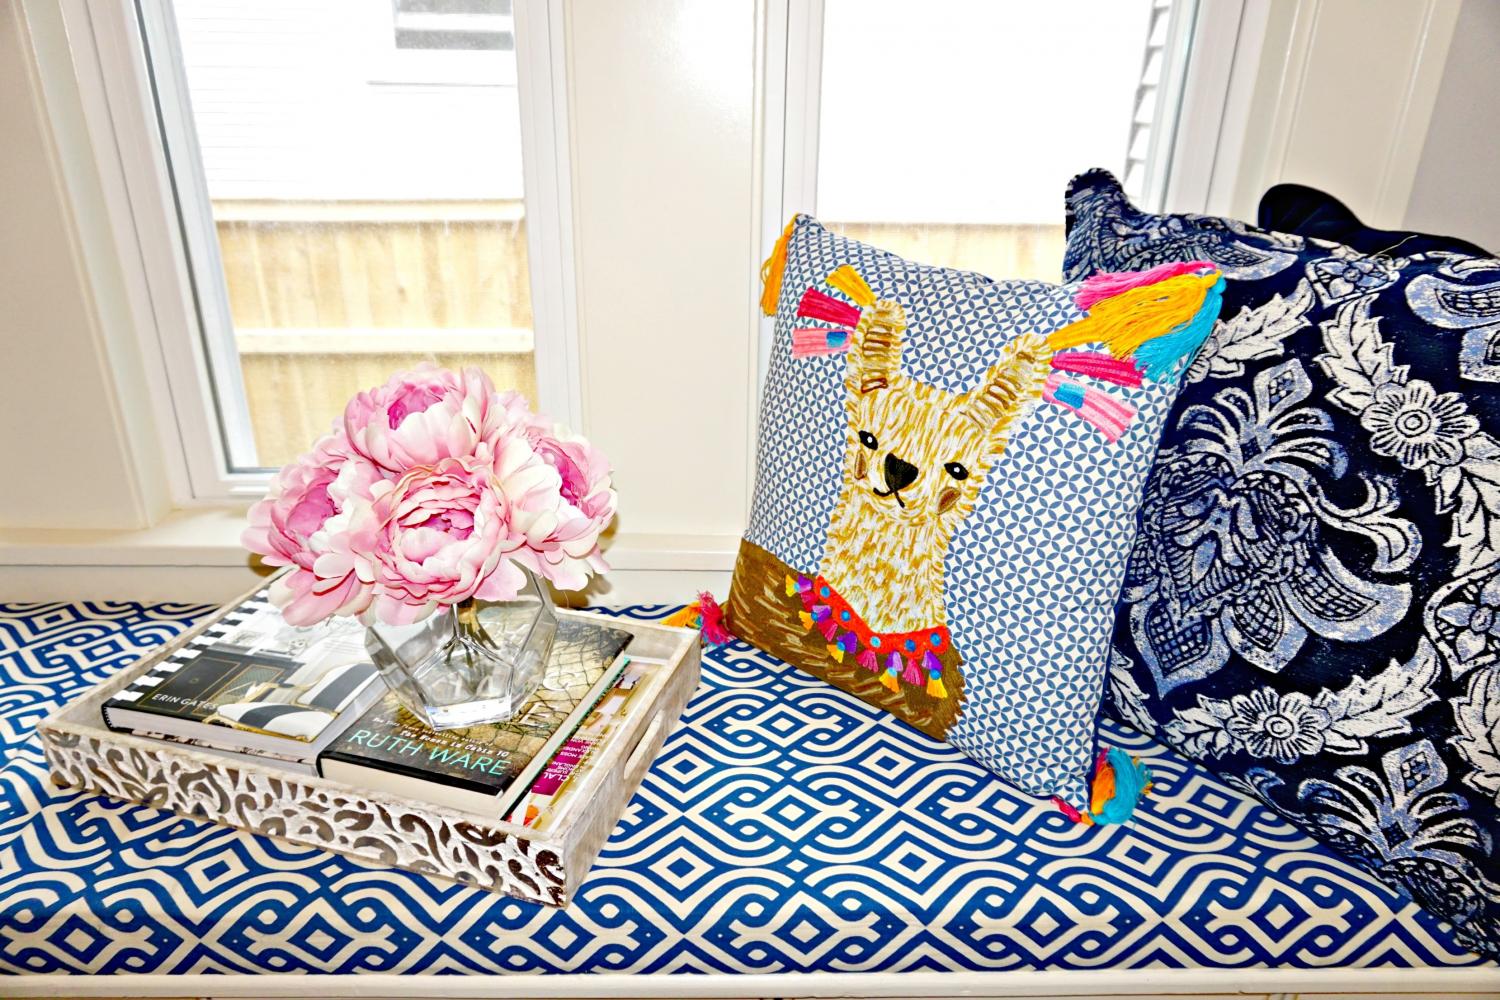
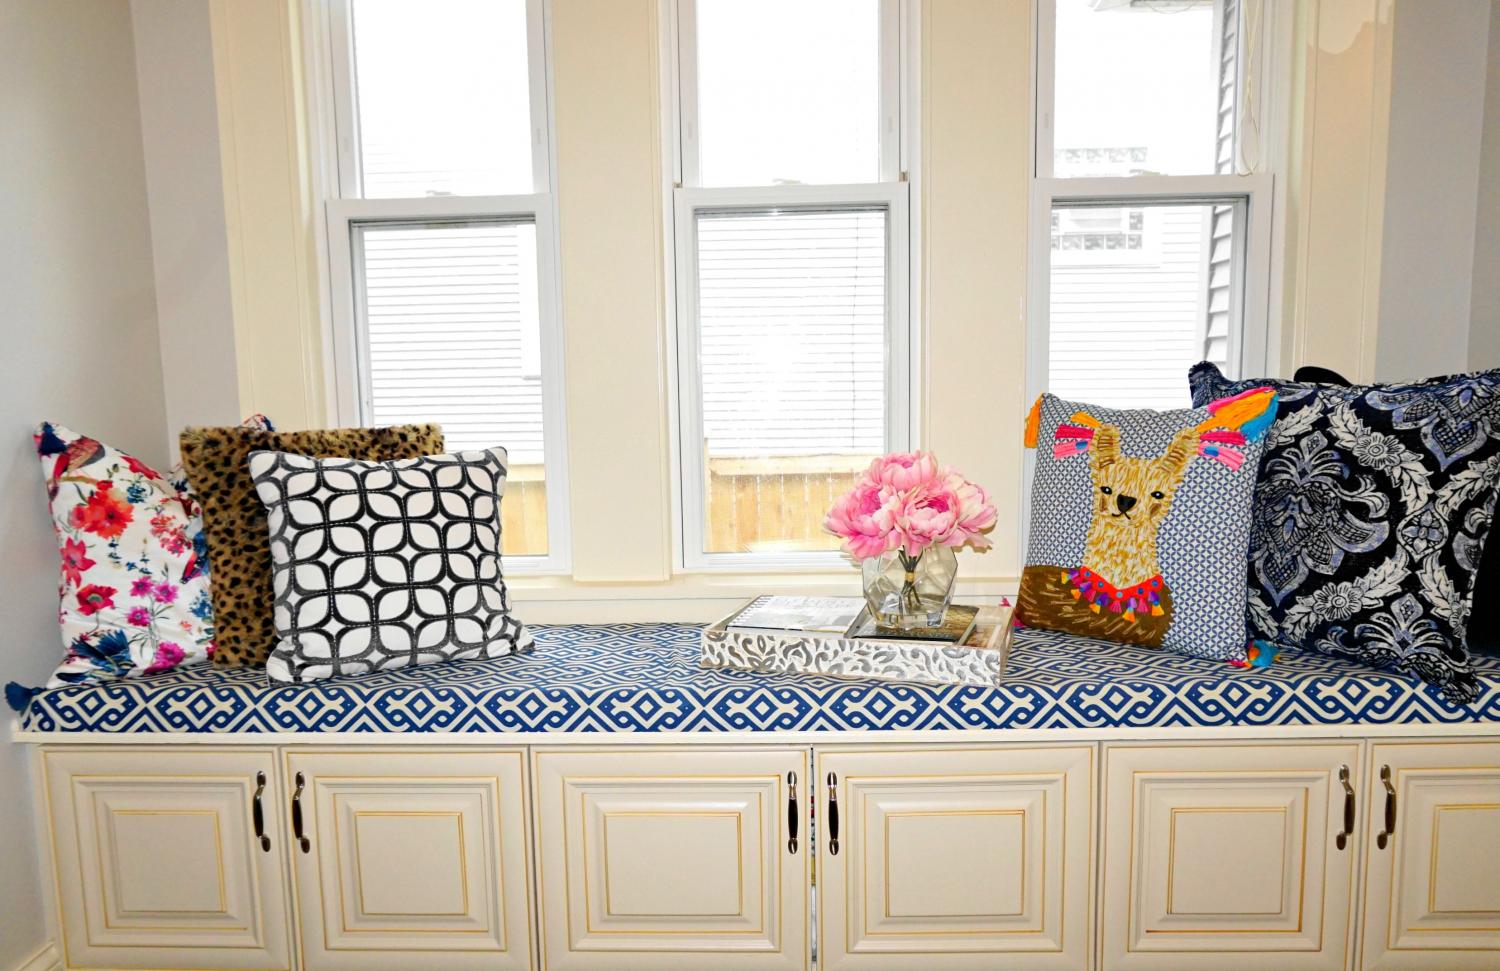
Now that we have this adorable cushion on our window seat, I don’t know how we ever lived without one. It’s used daily and is truly one of the most comfy seats in our house. My kids climb on it, I read on it, and it provides really comfy extra seating when we have guests or parties. The hardest part will be choosing your fabric and choosing accessories, so if you’re up for the challenge, read on.
Don’t forget to stock up on coffee table books – they make the perfect accessories! Shop my favorite ways to style your bench below.
Easy DIY no sew upholstered bench
Supplies
- Upholstery fabric
- Foam pad (at least 2 inches)
- Scissors or blade (to cut foam)
- Plywood
- Staple gun
Instructions
1. Measure space
Carefully measure the space your cushion will be going on; bring measurements to a hardware store and ask them to cut a piece of plywood to your dimensions.
2. Choose fabric
Start your search in the upholstery section of the fabric store – outdoor textiles also work great for upholstery. You definitely need a sturdier fabric for this kind of project. Tell the people at the store how big you need to cover and they’ll know how much extra to add to your total fabric – you need several inches on each side to be able to fold over and staple down.
3. Cut foam
Choose a high density foam for longevity and comfort – this one is super cushy and has held up with my family’s daily use. Lay your foam pad on top of your plywood to cut it to the exact dimensions.

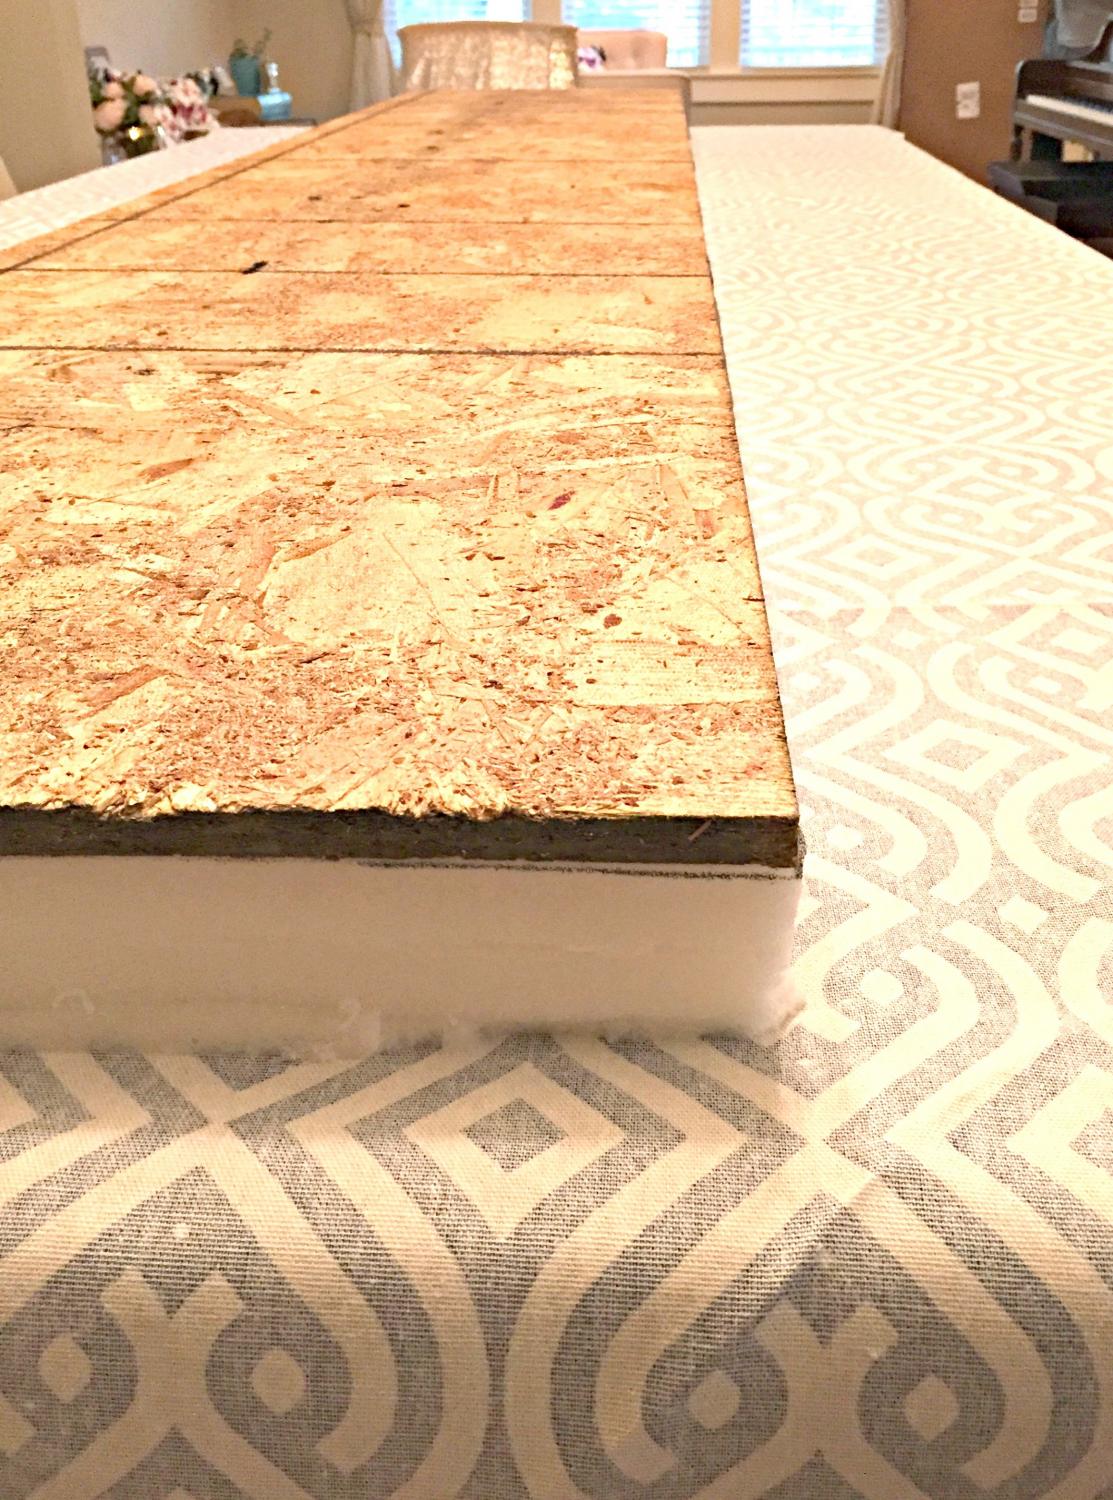
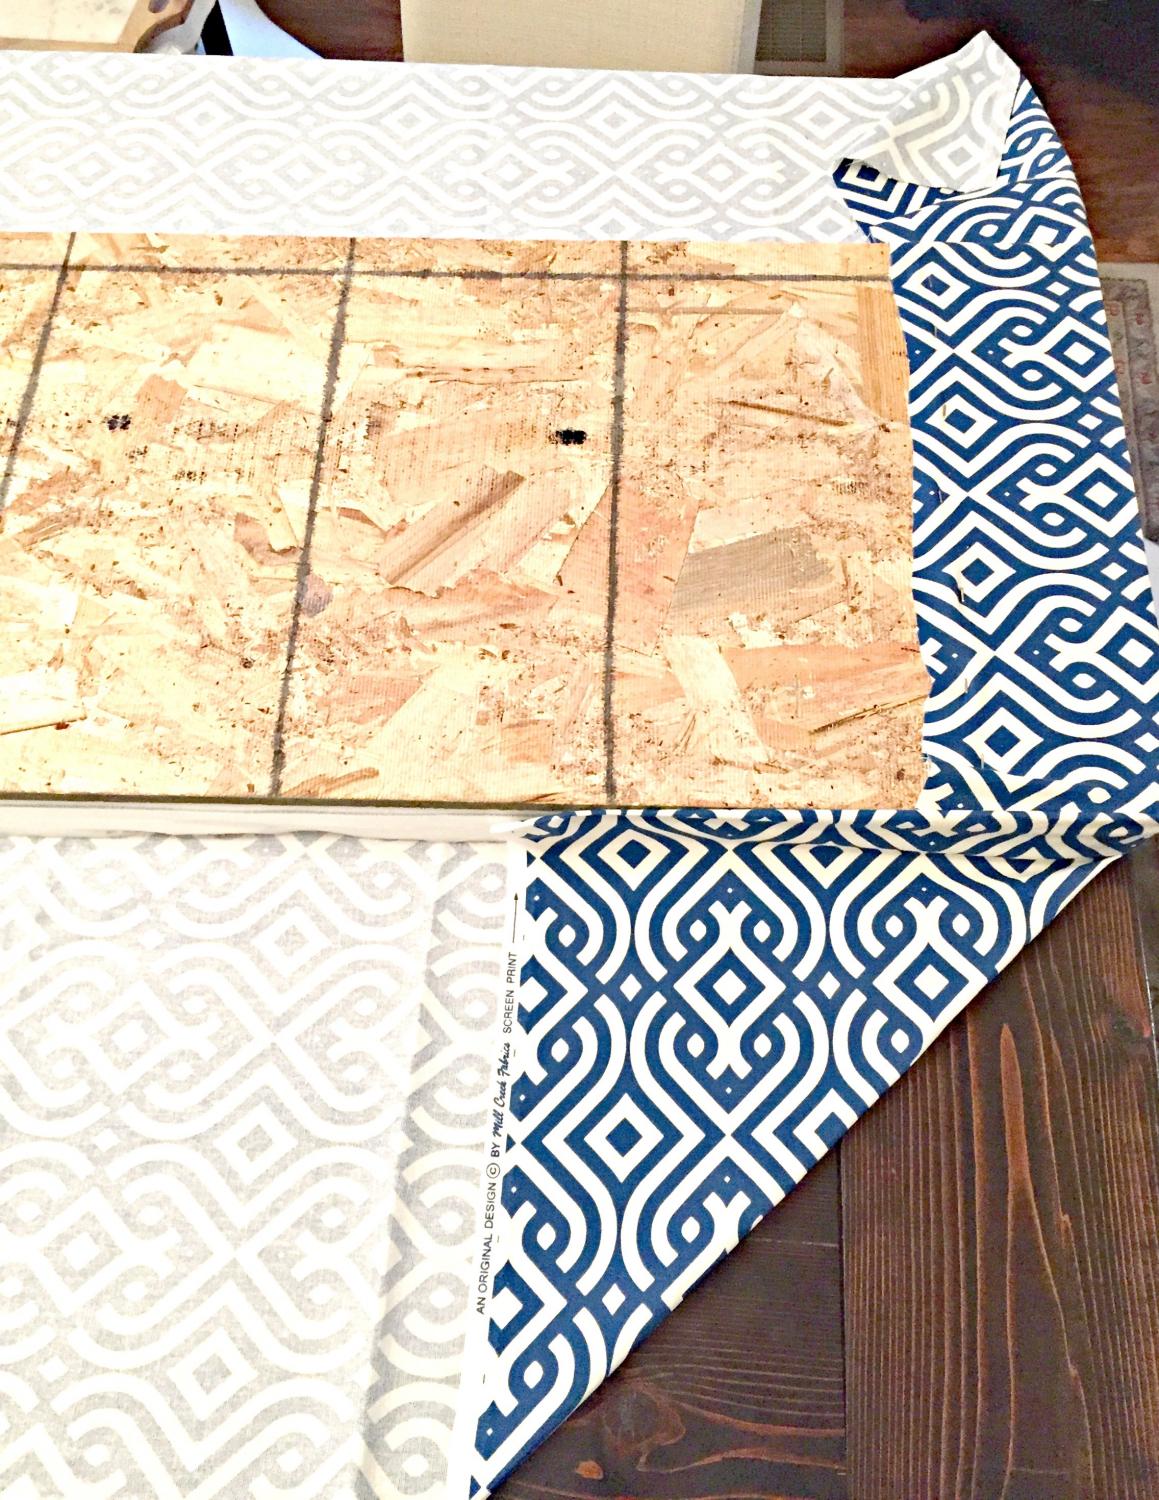
4. Put pieces together
Lay out your fabric, pretty side down, with the board and foam laying on top. Your foam should be touching the inside of the fabric, centered, with the plywood sitting on top.
5. Wrap and staple
It’s helpful but not necessary to have two people for this step. You want to pull the sides tight and staple into place with a staple gun like you’re wrapping a present. See below how I “wrapped” the sides, folding into a nice crease at the corners.
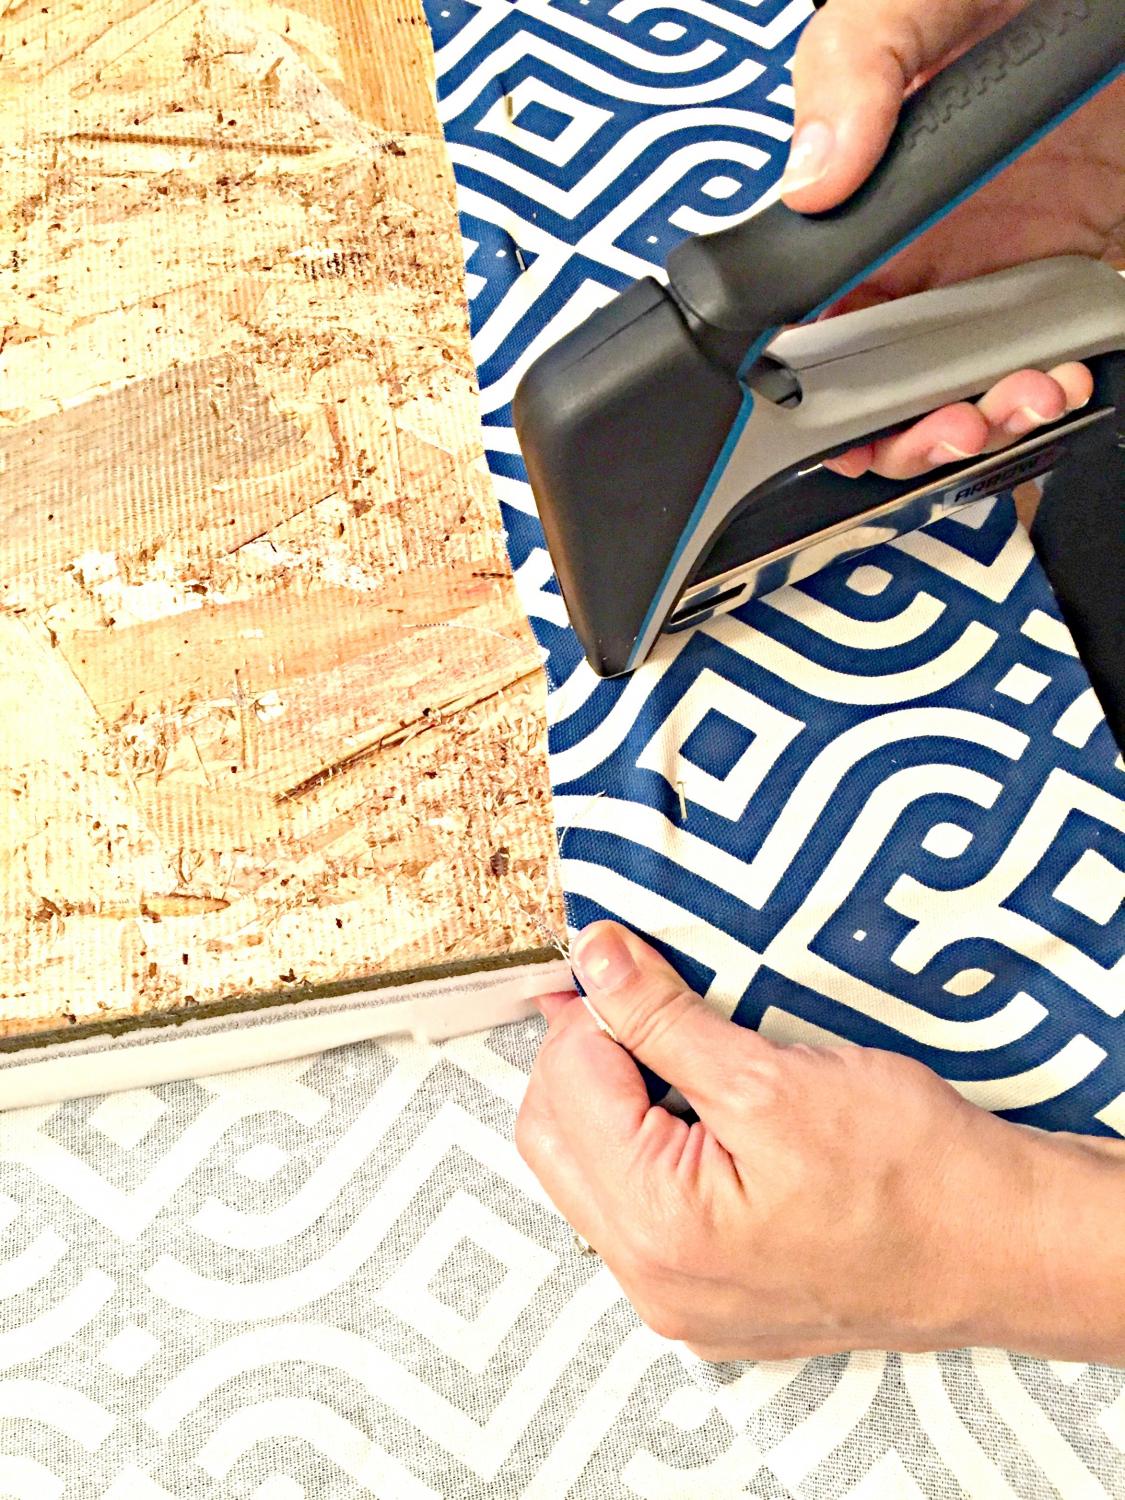
Chipped nails (pictured above) optional but not suggested.
6. Place & accessorize
That’s it! You can put double sided Velcro if you’re worried your cushion will slip off, but simply place your cushion in its new home and have fun accessorizing. I love mixing patterns (give it a try).
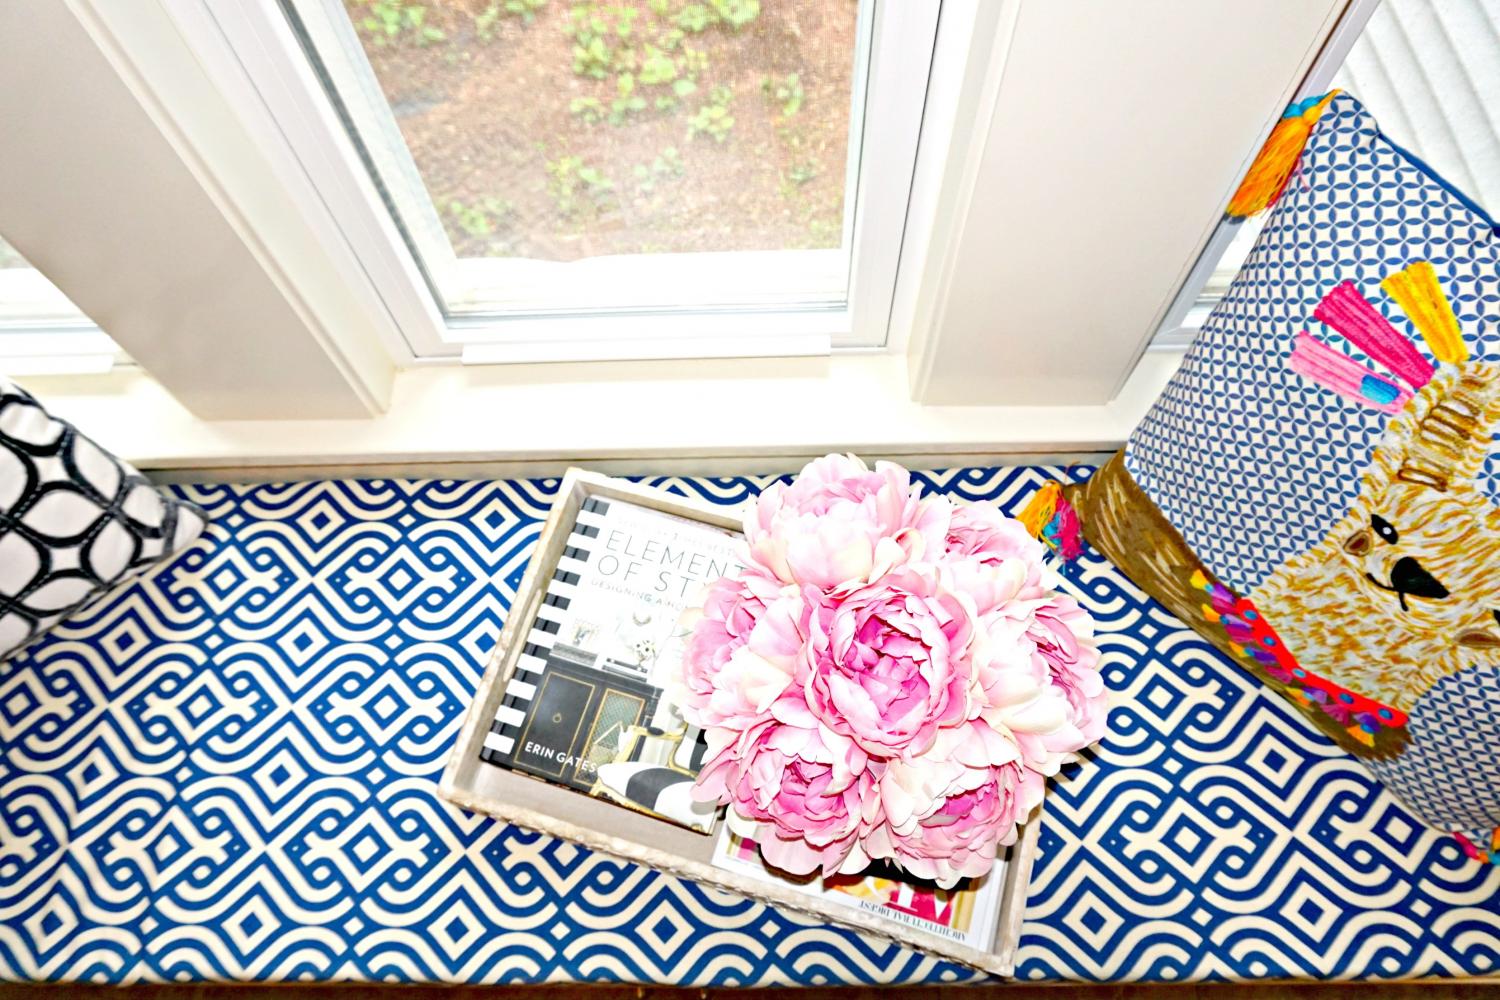
Accessories
Most of my pillow and accessories were found at TJ Maxx, Home Goods, or Burlington. Here are some similar faves, and don’t forget to pick up some coffee table books.

Try & share
If you try this project, I’d love for you to share the finished product with me!


Hi, I'm Lindsay!
Writer. Mom. Wife. Teacher. I'm passionate about family, manners, and learning and fervently stand up for (and write about) what I believe in. I strive to make myself and the world around me better through blogging. Don't forget to never say no to tea, cookie dough, peonies, or kindness.
My Favorite Posts
15 Lessons From My 7-Year-Old Self
March 2, 2016
13 Things I Learned About My Parents After Having a Baby
July 13, 2015

Why It’s Time to Get Rid of Basic B****
November 12, 2015

God Doesn’t Care About Your Last Name
October 16, 2016

