When my husband and I bought our home almost three years ago, I listened to the advice of my family and friends about how to tackle decorating- go slowly and one room at a time. Yes, I ‘listened’ to this advice, but I did not abide by these wise words. I’m the type of person who, when I get something in my head, needs it done immediately. When this usually does not happen, I become extremely overwhelmed, neurotic, and completely fixated on this project or vision until I complete it (and become pretty crabby in the process). I sound delightful, right?
I had been searching for art work or pictures to fill my lonely living room wall space forever with no luck. I felt the Home Goods gods were against me because they have never failed me on any home decor quest before. The more I searched, the more discouraged I got, or I would fall in love with something that was out of my budget. That’s when I decided to take things into my own hands.
Upgrade Thrift Store Art
Supplies
Thrift store artwork or frames
Sandpaper
Spray paint
Exacto knife
Enlarged personal photos
The Process
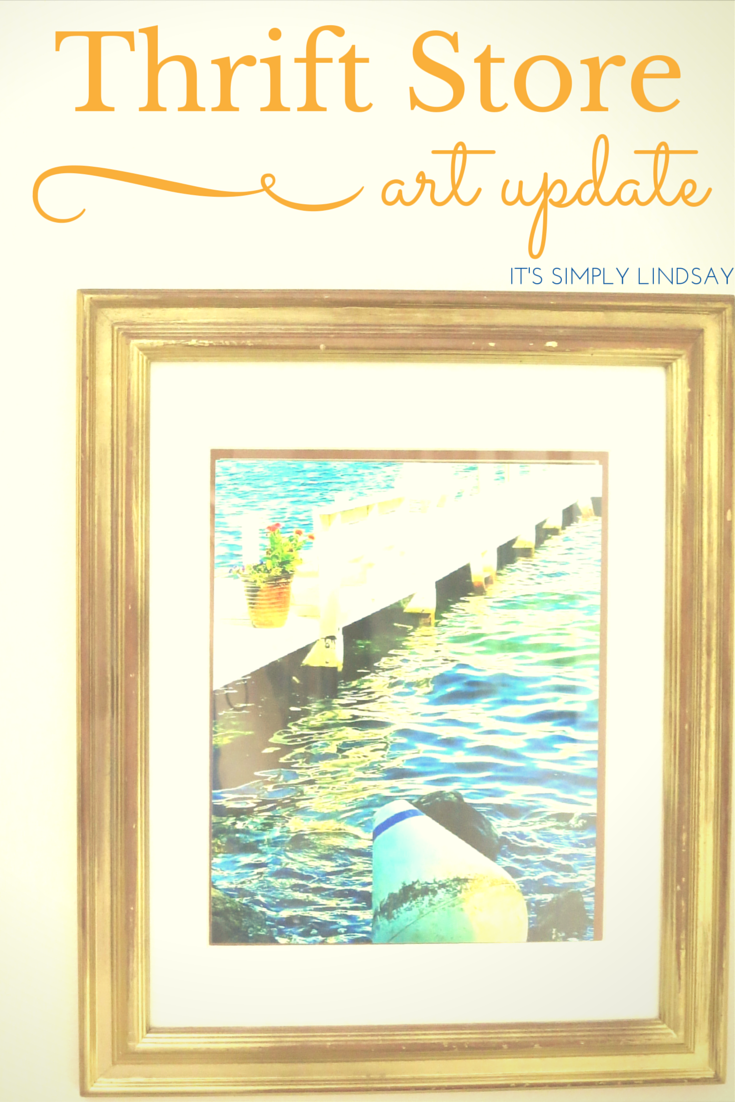
I looked through my pictures to find some that were meaningful, beautiful, and special to me and altered them a bit in Pic Monkey to achieve my desired effect. I chose some that I took during a walk around Lake Geneva with my mom and picked a bright, fun, cheery print from Etsy. I blew up the photos and was off to my favorite home decor thrift shop.
I looked past the creepy vintage clowns and nauseating retro mustard daisies images and focused on the shape and structure of the frame itself. The colors of the frame didn’t matter because I would be painting them anyway. While there were frames that matched, I prefer a more eclectic look that’s not so matchy-matchy. I purchased two 8 X 10 frames and a 5 X 7 for this project.
When I got home, it was time to get those images out of the frames. One of mine was closed off with that brown art paper, so I took an exacto knife and gently traced the edges until I could peel back the paper and remove (and destroy) the picture.
Next I carefully took the glass out and removed sticker gunk residue from the outside of it. Why companies put stickers on glass is beyond me and very frustrating, but I wouldn’t let this deter me. To remove sticker residue from glass, rub a little olive or canola oil on it with a paper towel (or spray Pam). Let it sit for a while, and after about 10 minutes, you can rub it off with the towel. Clean with glass cleaner or vinegar and water.
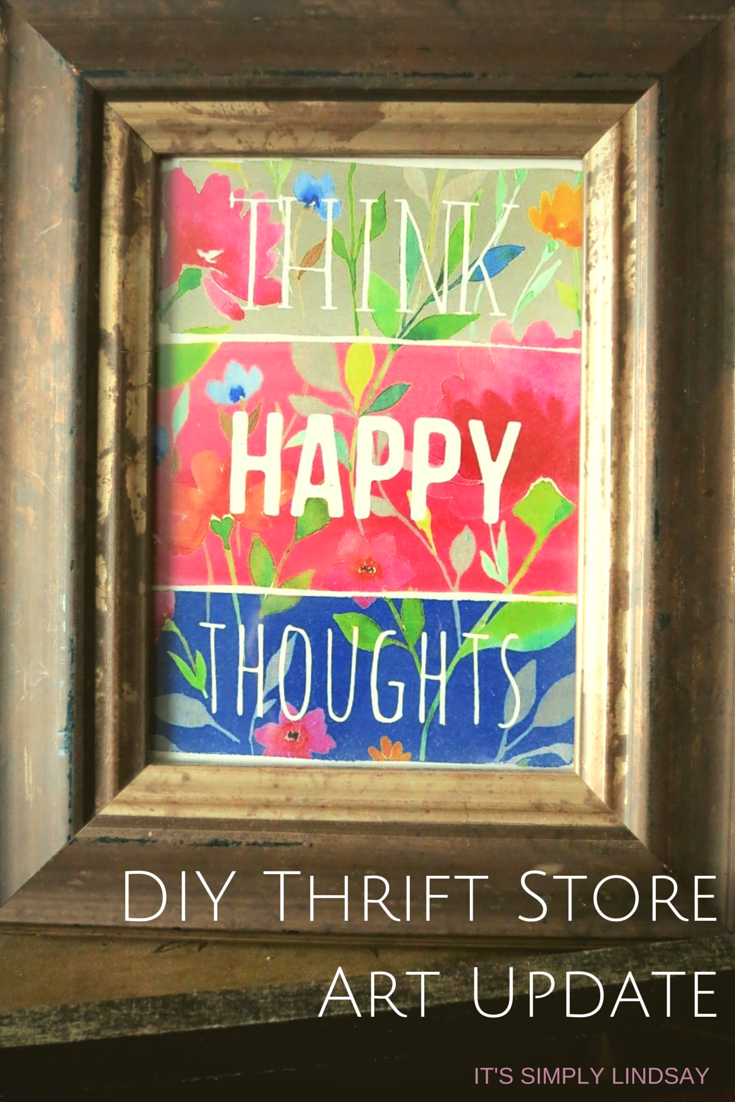
I took the bare frame (no picture or glass) outside and covered the painting area with newspaper. First I roughly sanded the finish off the frame and wiped with a damp cloth. For the 8 X 10 frames, I wanted a two-tone silver and gold look for one and a distressed gold for the other. The 5 X 7 was such a pretty wood that I ended up not painting the whole thing, just gently brushing on gold accents.
Brushed Accents
I lightly roughed up the parts I would be dusting with gold accents with sandpaper, then dipped a small paint brush in gold paint and quickly brushed it over the edges for a light gold accent.
Two-Tone
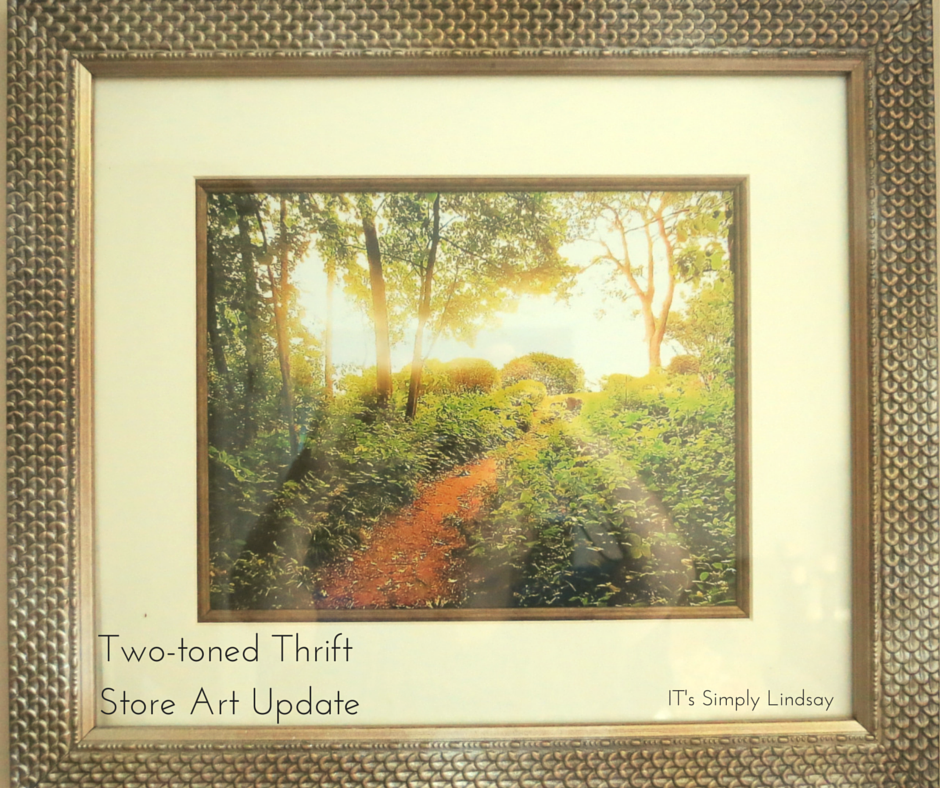
For the two-tone, I sprayed two coats of gold spray paint, waiting for them to dry between coats. Then I roughed it up a bit with fine sand paper so it didn’t look too heavy or perfect. I went back in and lightly sprayed a few spots with silver.
Distressed Gold
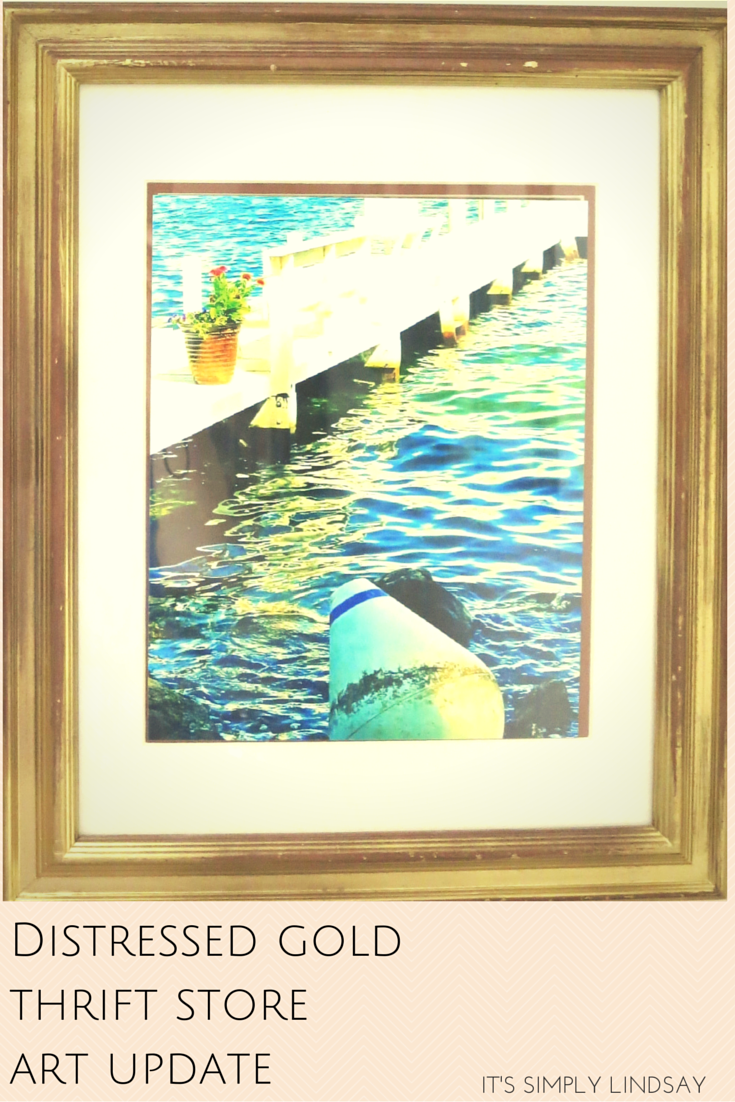
For the gold distressed look, I sanded, wiped, and sprayed with two coats, then sanded some of the edges so the original dark finish showed through.
Tips:
Make sure to wear gloves to protect your hands and leave these outside to dry.
When painting, choose a well-ventilated area and/or wear a mask.
Wait for paint to fully dry between coats to ensure a smooth, even look.
Follow instructions on spray paint.
Final Thoughts:
There you have it! Instead of paying lots of money for artwork and frames, I highly suggest incorporating even a few of these unique, special, insanely inexpensive pictures into your home decor.


