


Happy first birthday to my darling baby girl! I can’t help but think this birthday is exponentially better than her “birth day” last year because this one started with cake. Kind of hard to argue with that, don’t you think? I knew I wanted to make a smash cake and take pictures myself, so that’s exactly what I did. I will soon be posting the healthy cake and frosting recipe I concocted, which is not only perfect for babies but is so delicious I will be making it for myself, too. Stay tuned for that.
What you need:
If you’d like to do your own first birthday cake smash photo session at home, here is what you need:
- a white backdrop (sheet, curtain, large roll of paper)
- natural sunlight
- your baby
- iPhone or camera
- birthday cake
- another person to help
DIY First Birthday Smash Cake Photo Session
The set up
Choose a room in your home with lots of windows. I chose the kitchen and draped a white bed sheet over our kitchen table onto the floor. I prefer simple, clean backgrounds so you can focus on what’s important: your baby! Feel free to embellish with tassels, a balloon, or banners though to suit your taste.
The timing
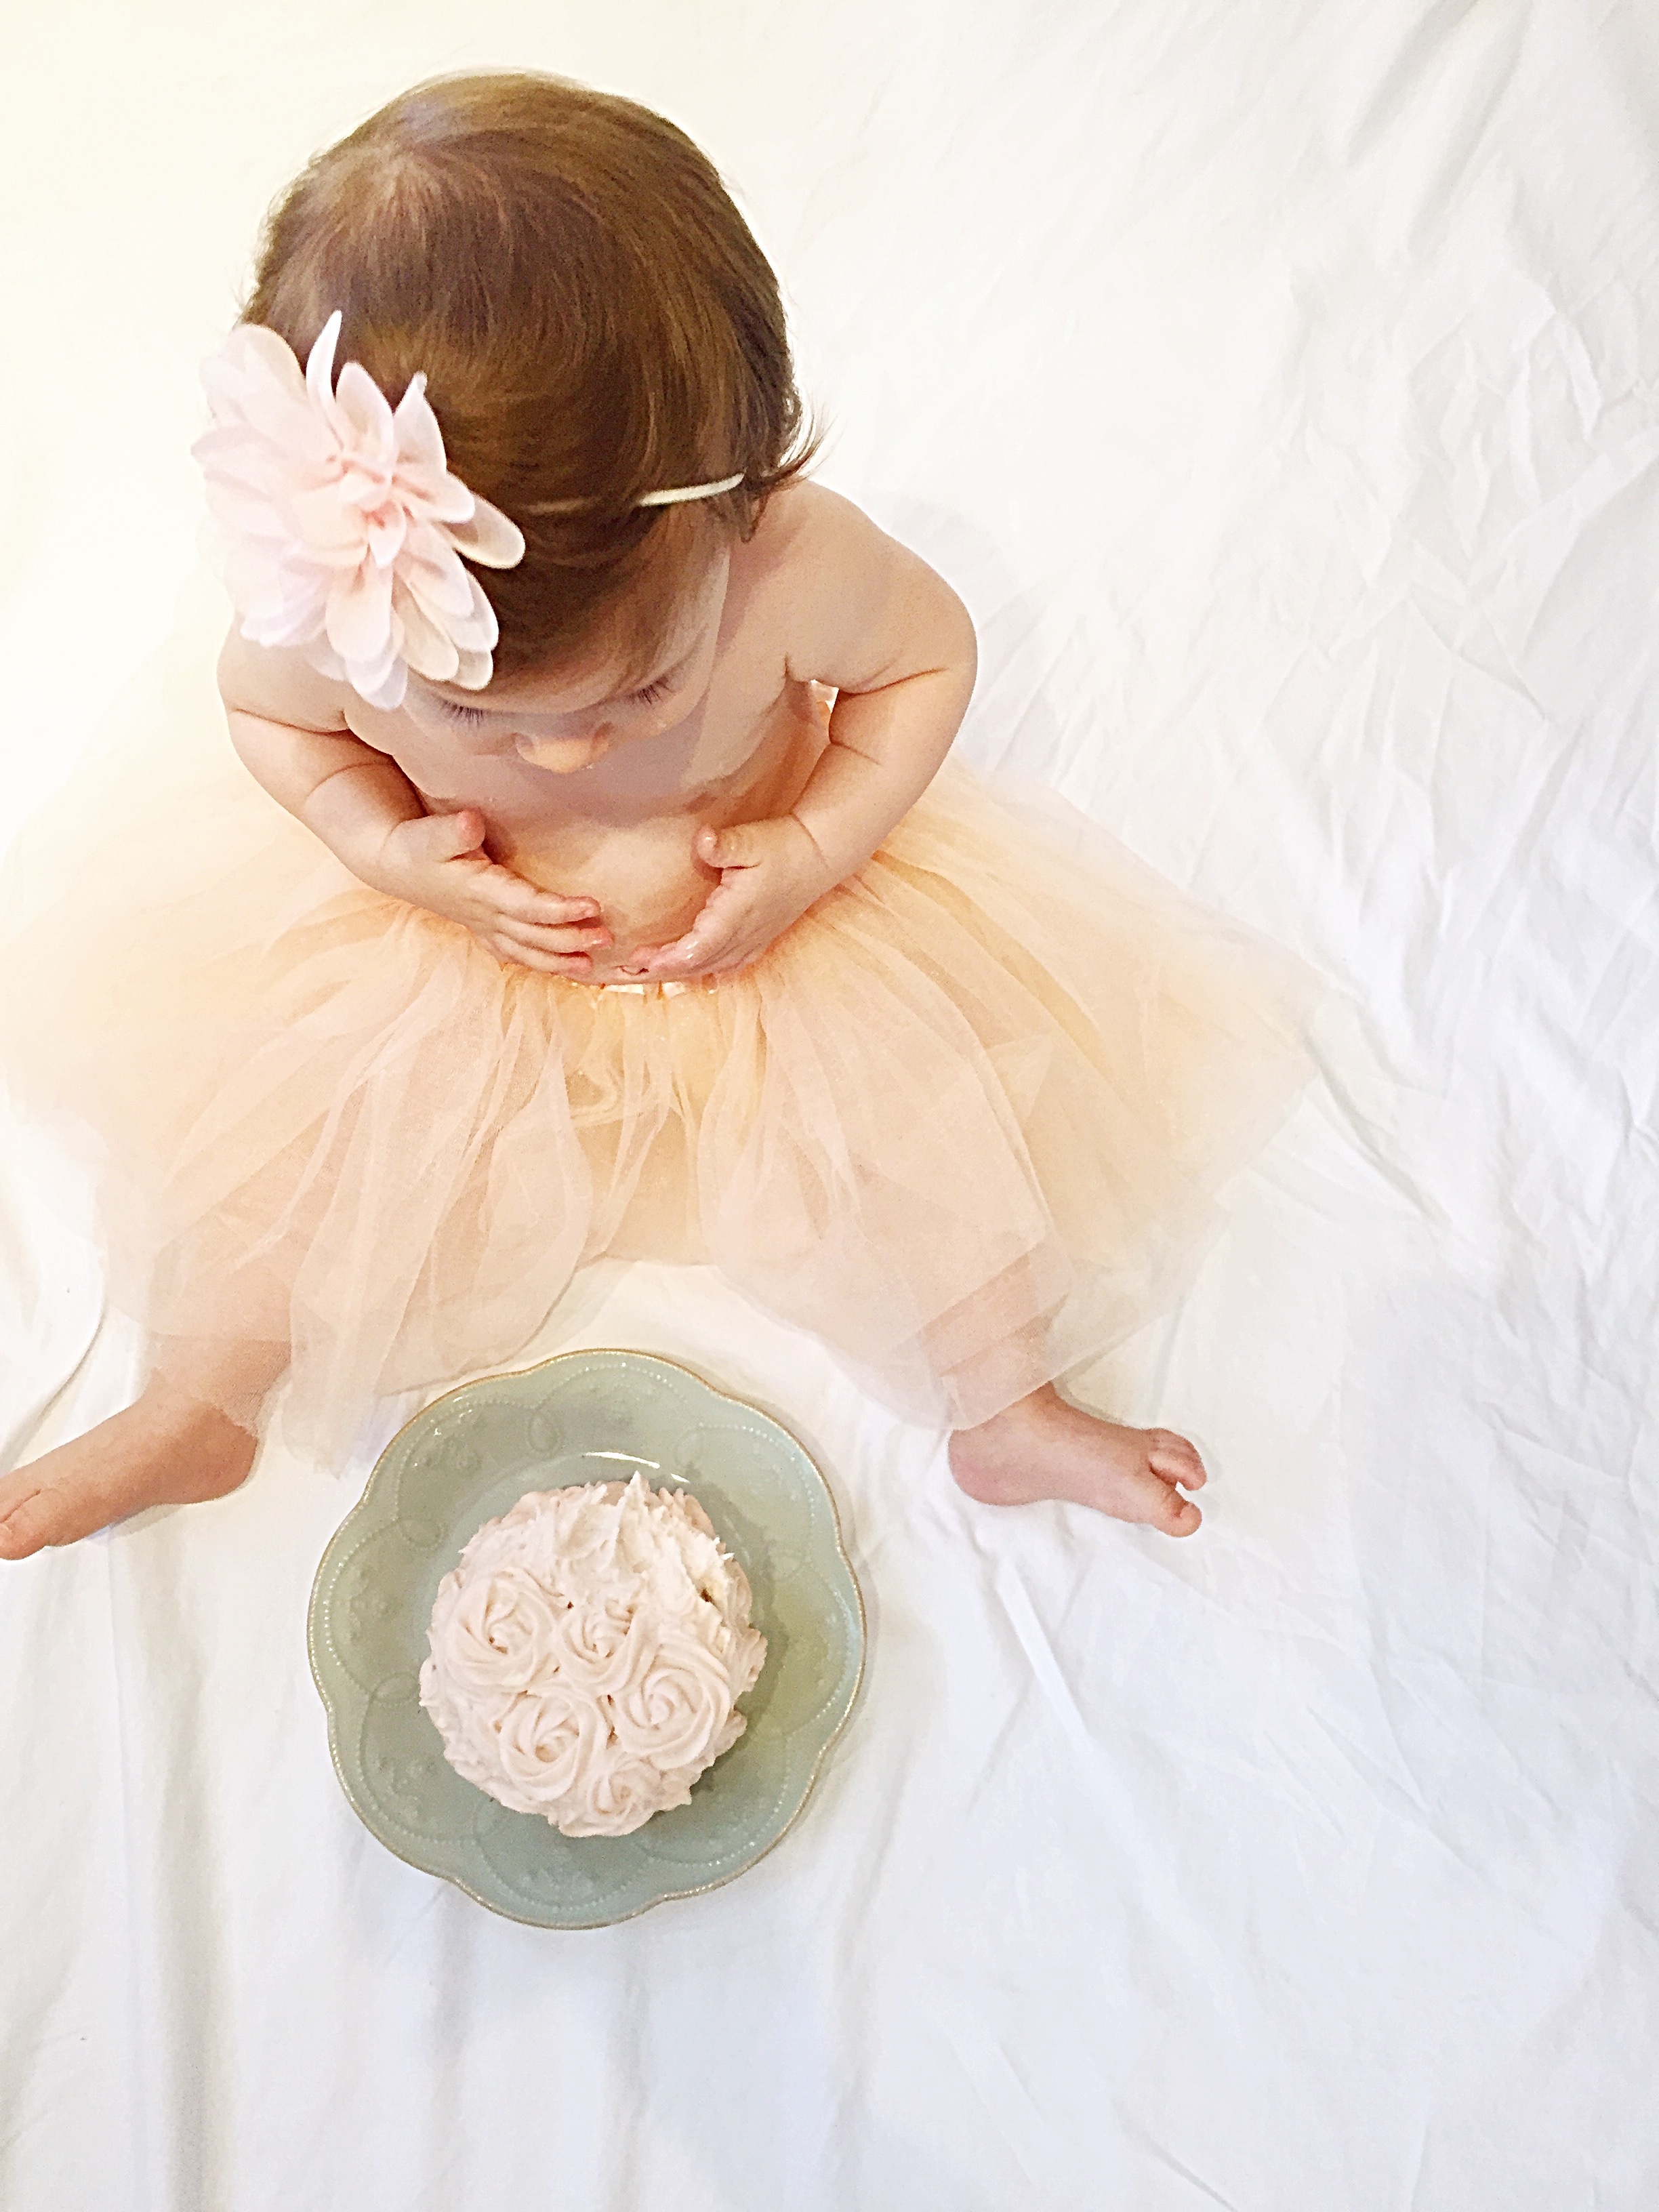
Be sure that your baby has been fed, changed, and is not sleepy before you start your photo session. We did ours after breakfast; I wanted her little belly slightly full so she wouldn’t tear into the cake like a ravenous monster. This ended up working perfectly. Ginny was so dainty and neat as she explored the cake that my husband and I had to encourage her making a bit of a mess. The whole session took about 10 minutes, though I pretty much got all of the pictures I needed in two minutes.
Tips
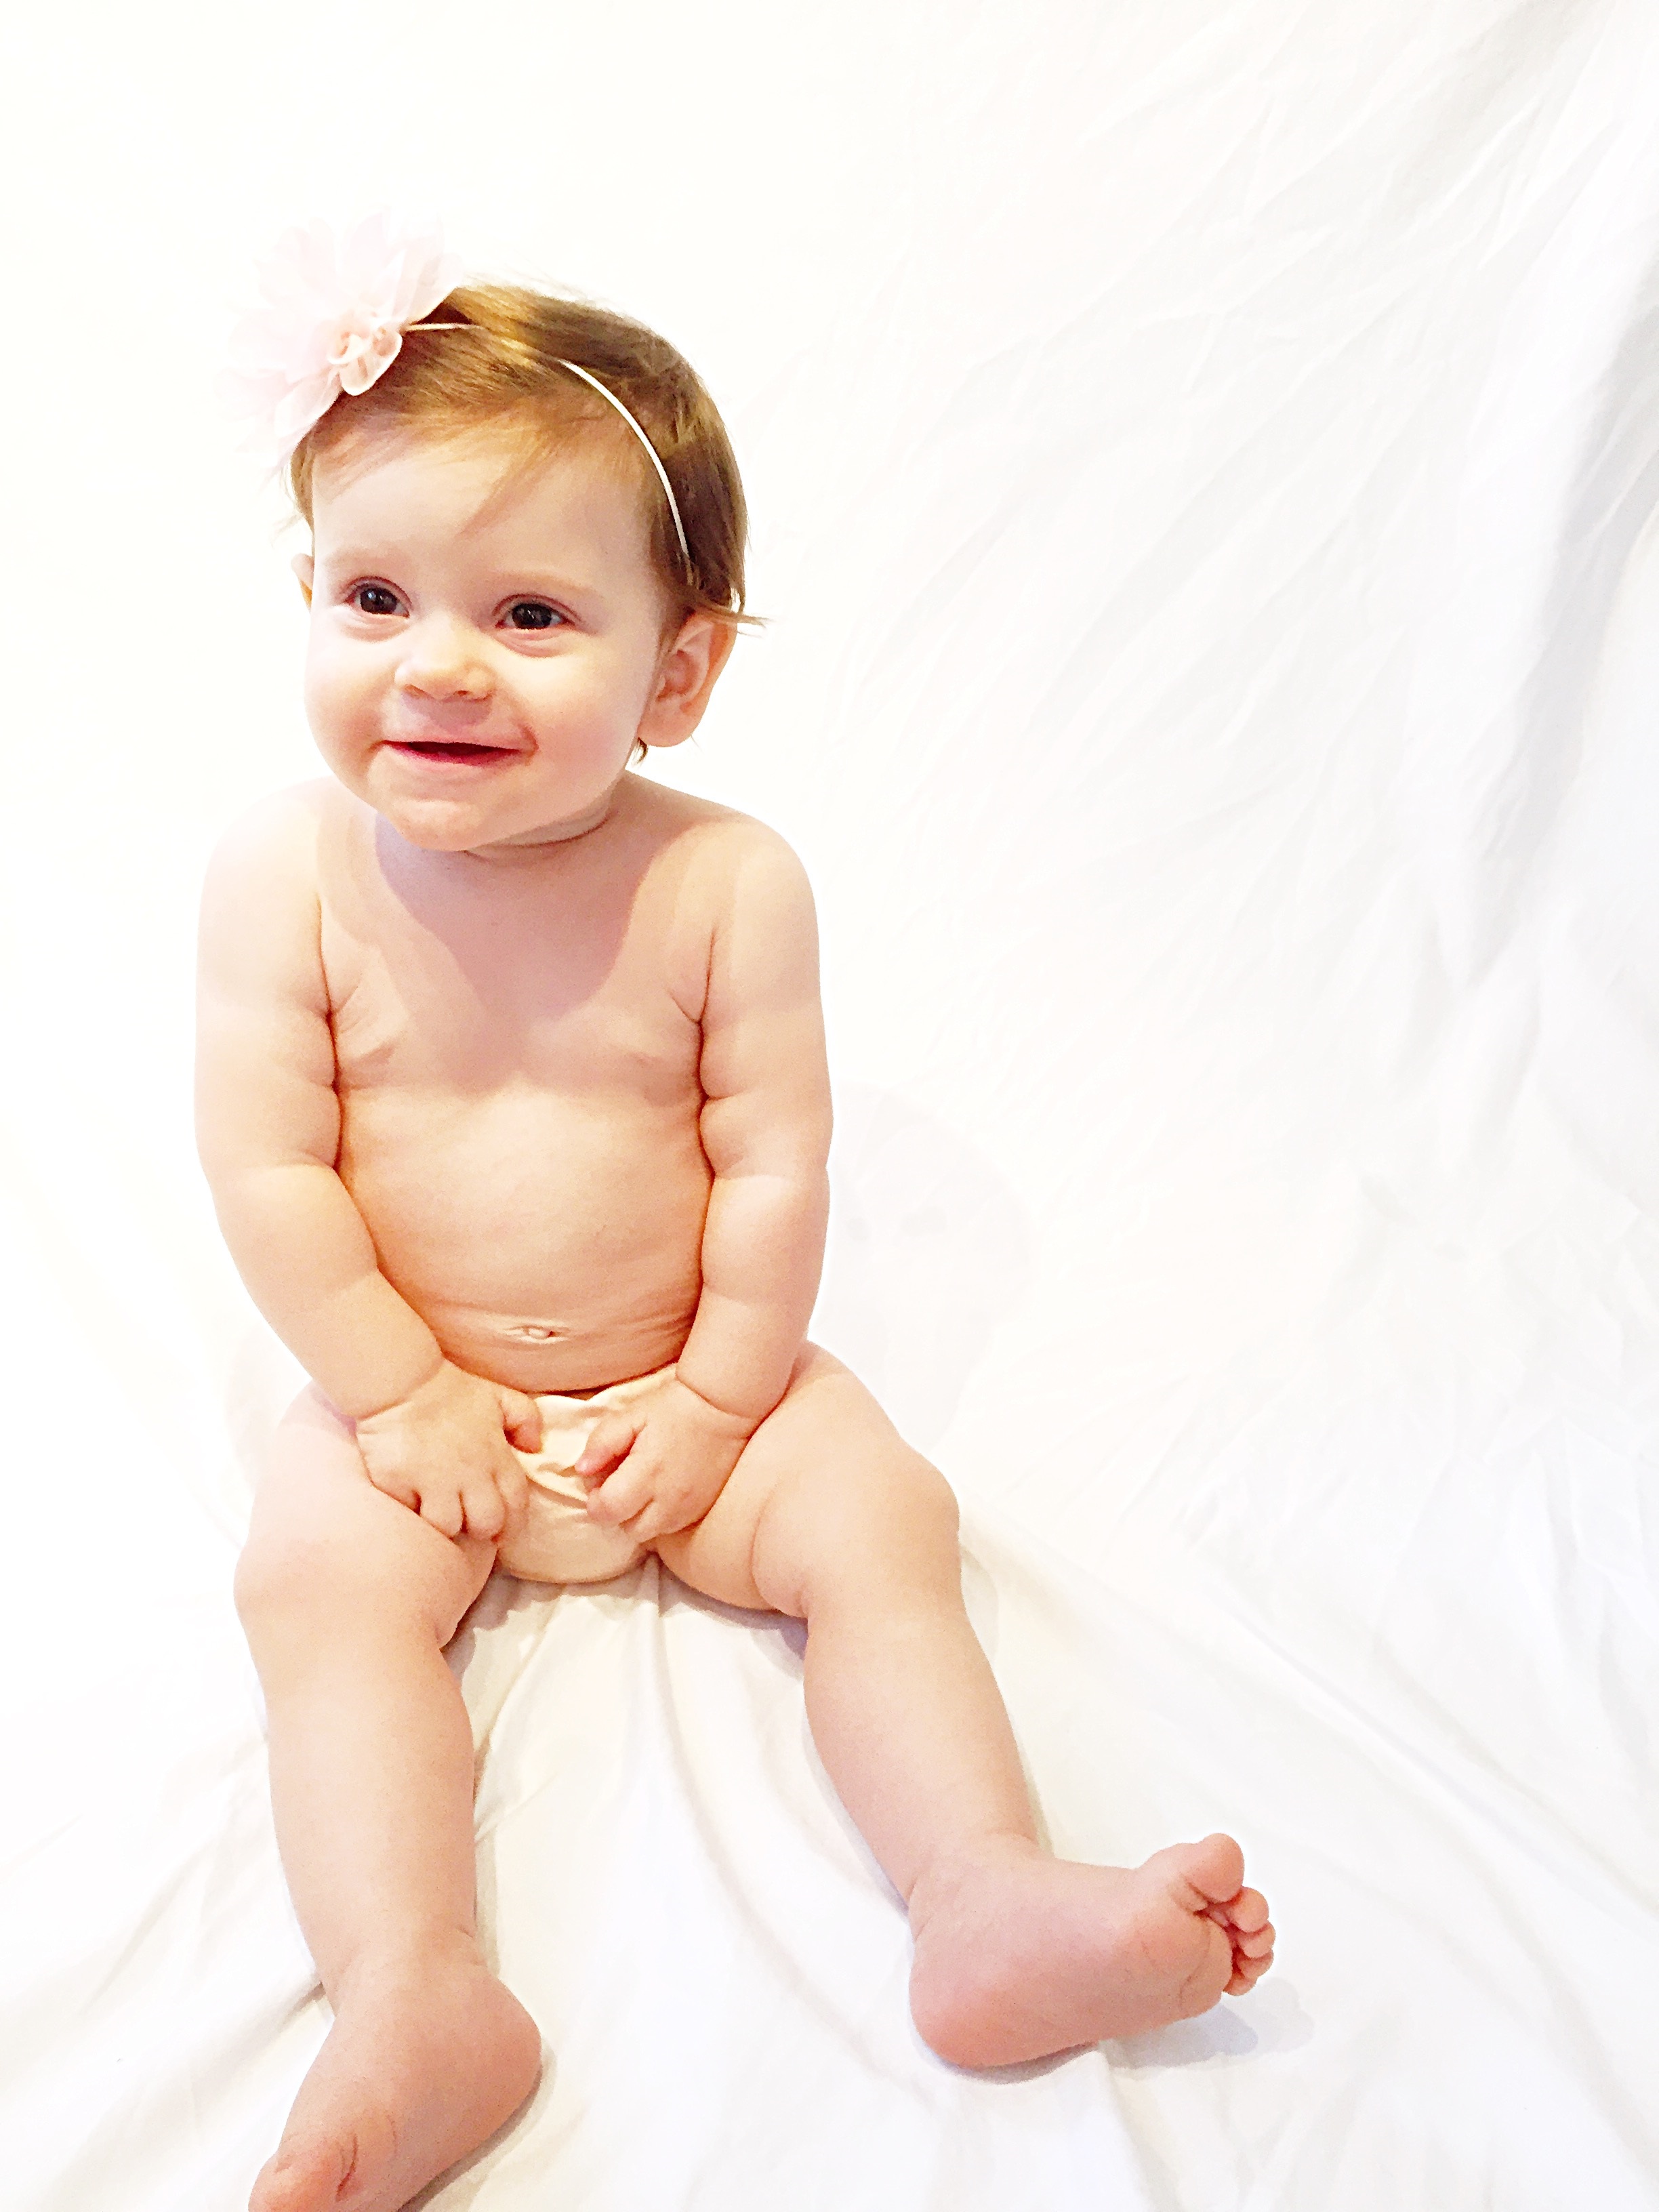
Keep your baby’s outfit minimal, again, to maintain the focus on your beautiful child rather than a fussy outfit. Who doesn’t love seeing baby belly and squishy legs??
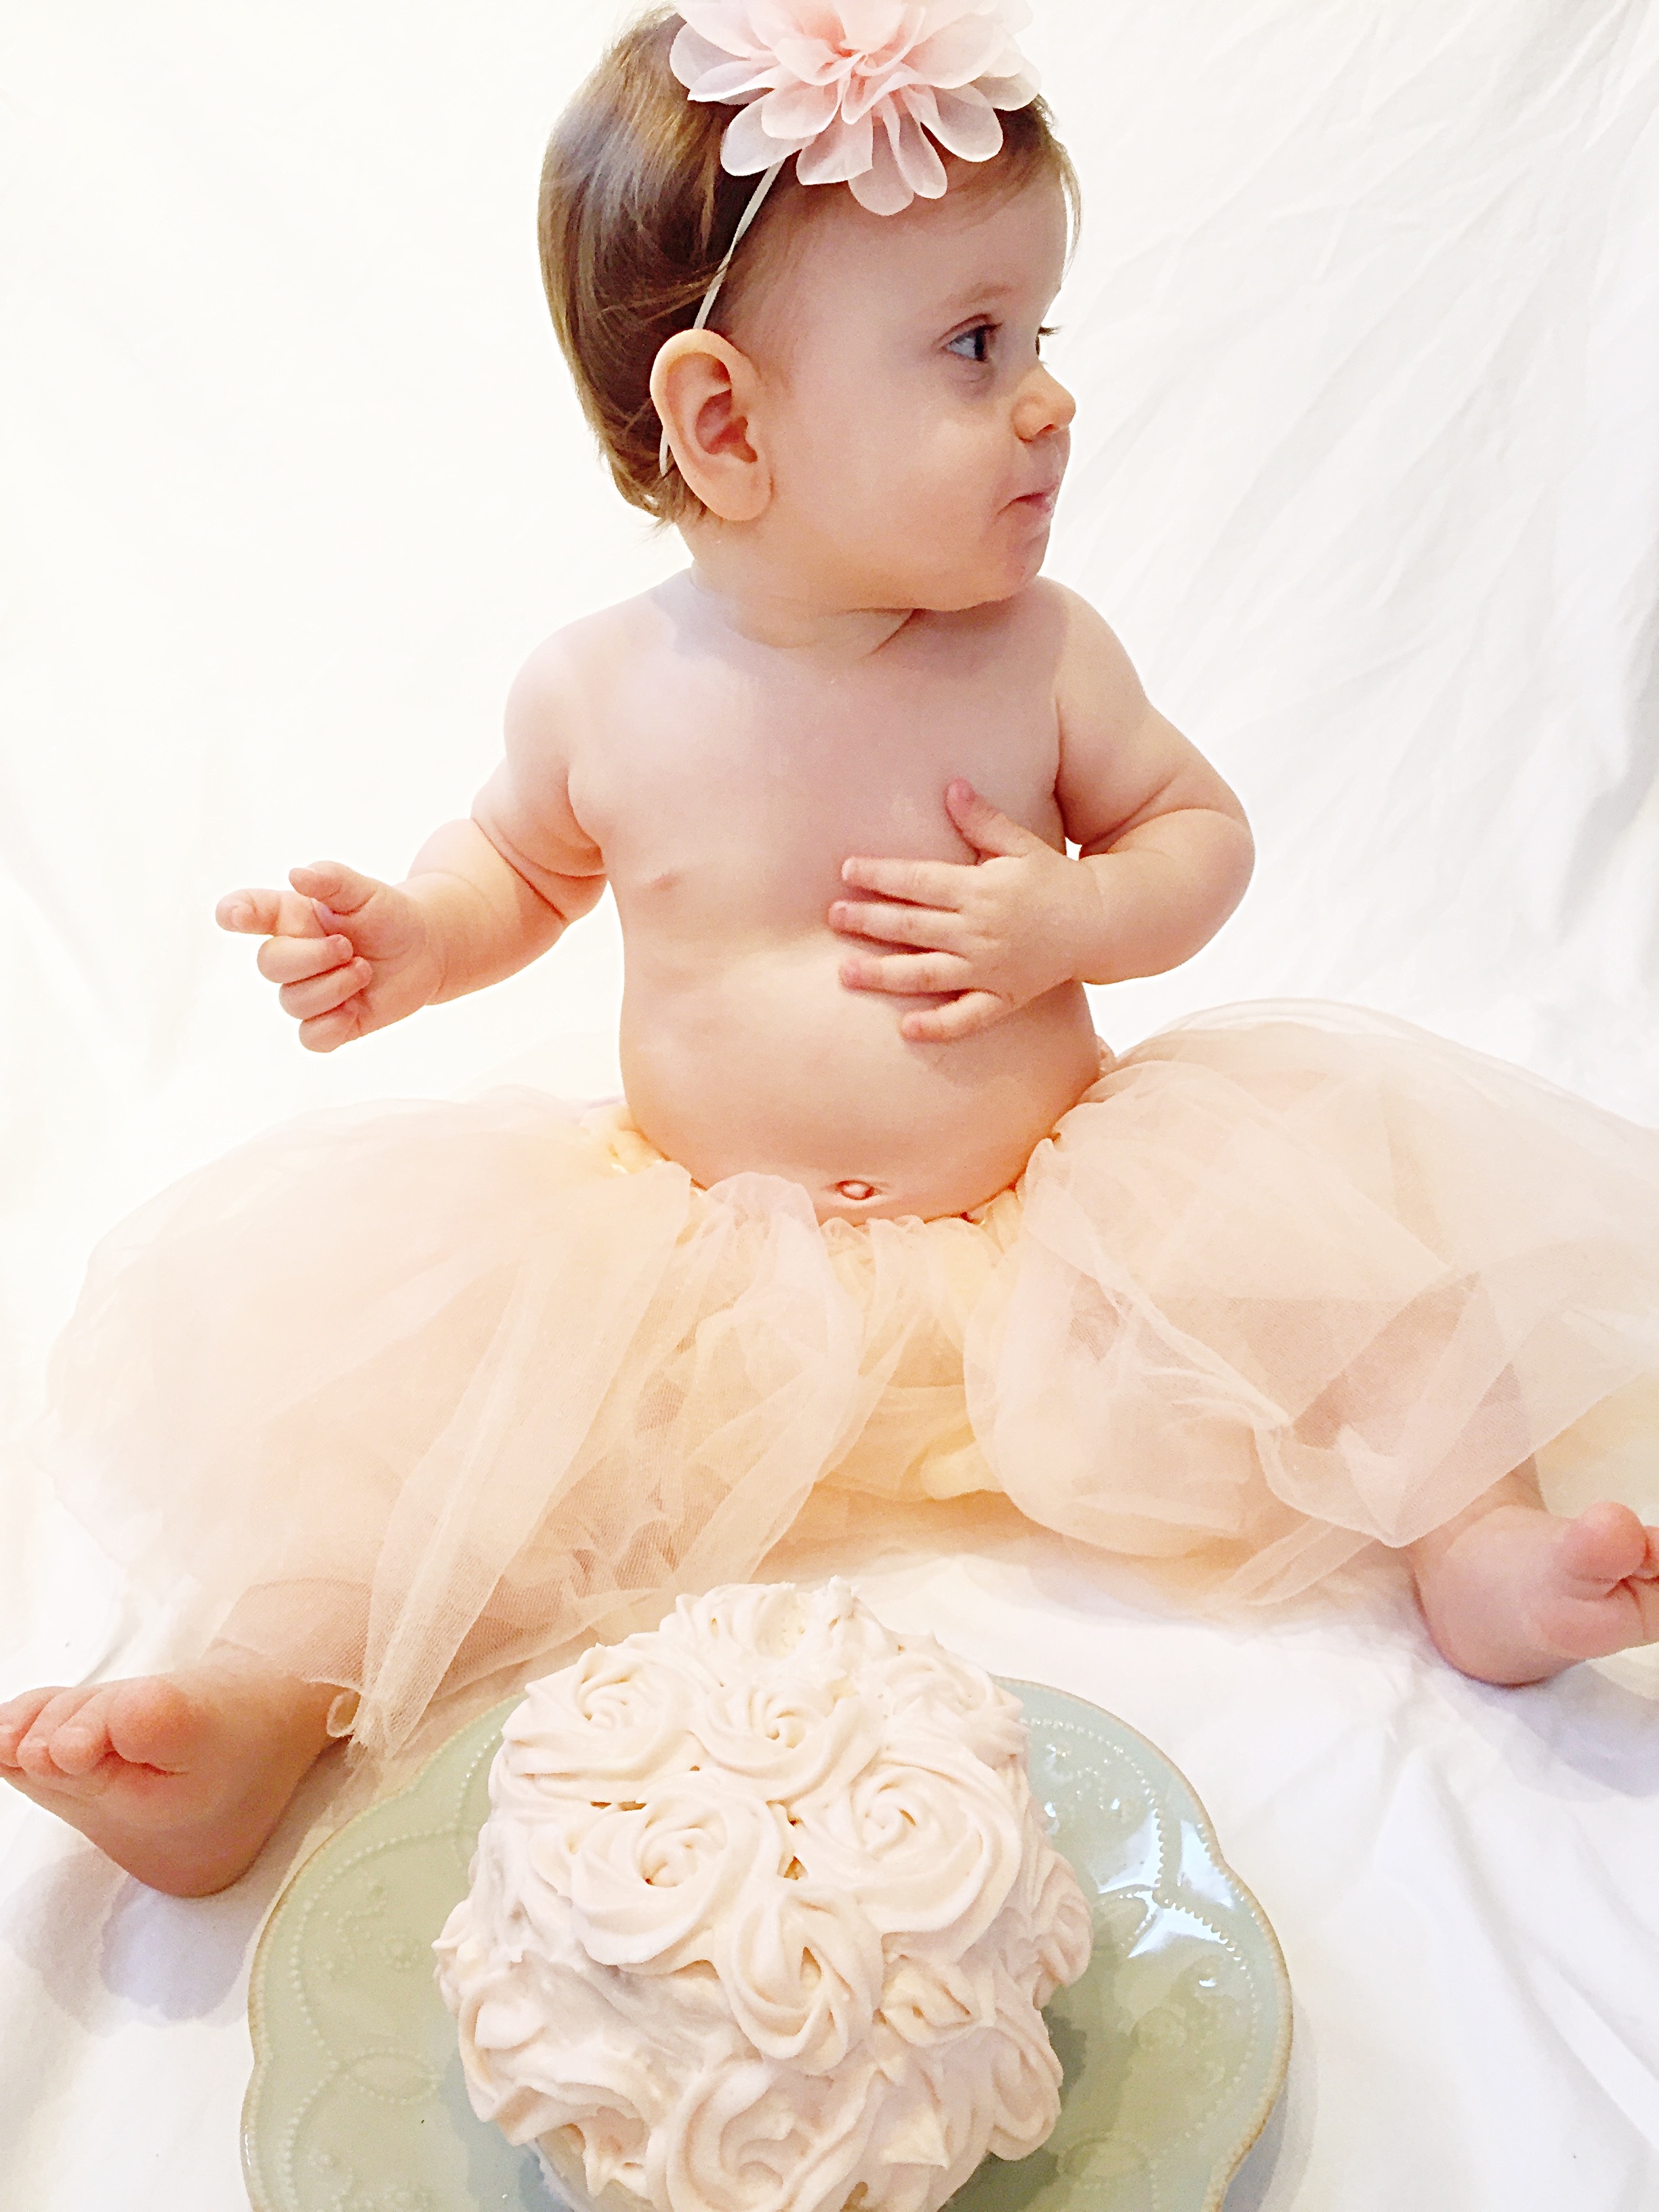
Don’t force your baby into certain poses; this will most likely agitate her. Put her down near the cake and see what happens. Gently redirect when necessary.
I used my iPhone for all pictures; have a backup phone or camera handy in case you run out of space.
Edit your pictures: I suggest not going crazy with editing for these smash cake photos. You never need to airbrush your baby, and don’t worry about messing with all different filters. Try adjusting the lighting, highlights, and shadows to get your desired look. I do enjoy black and white pictures too, so I threw a few of those in.
Take lots and lots and lots of pictures so you have many to choose from and so you catch all the different darling expressions.
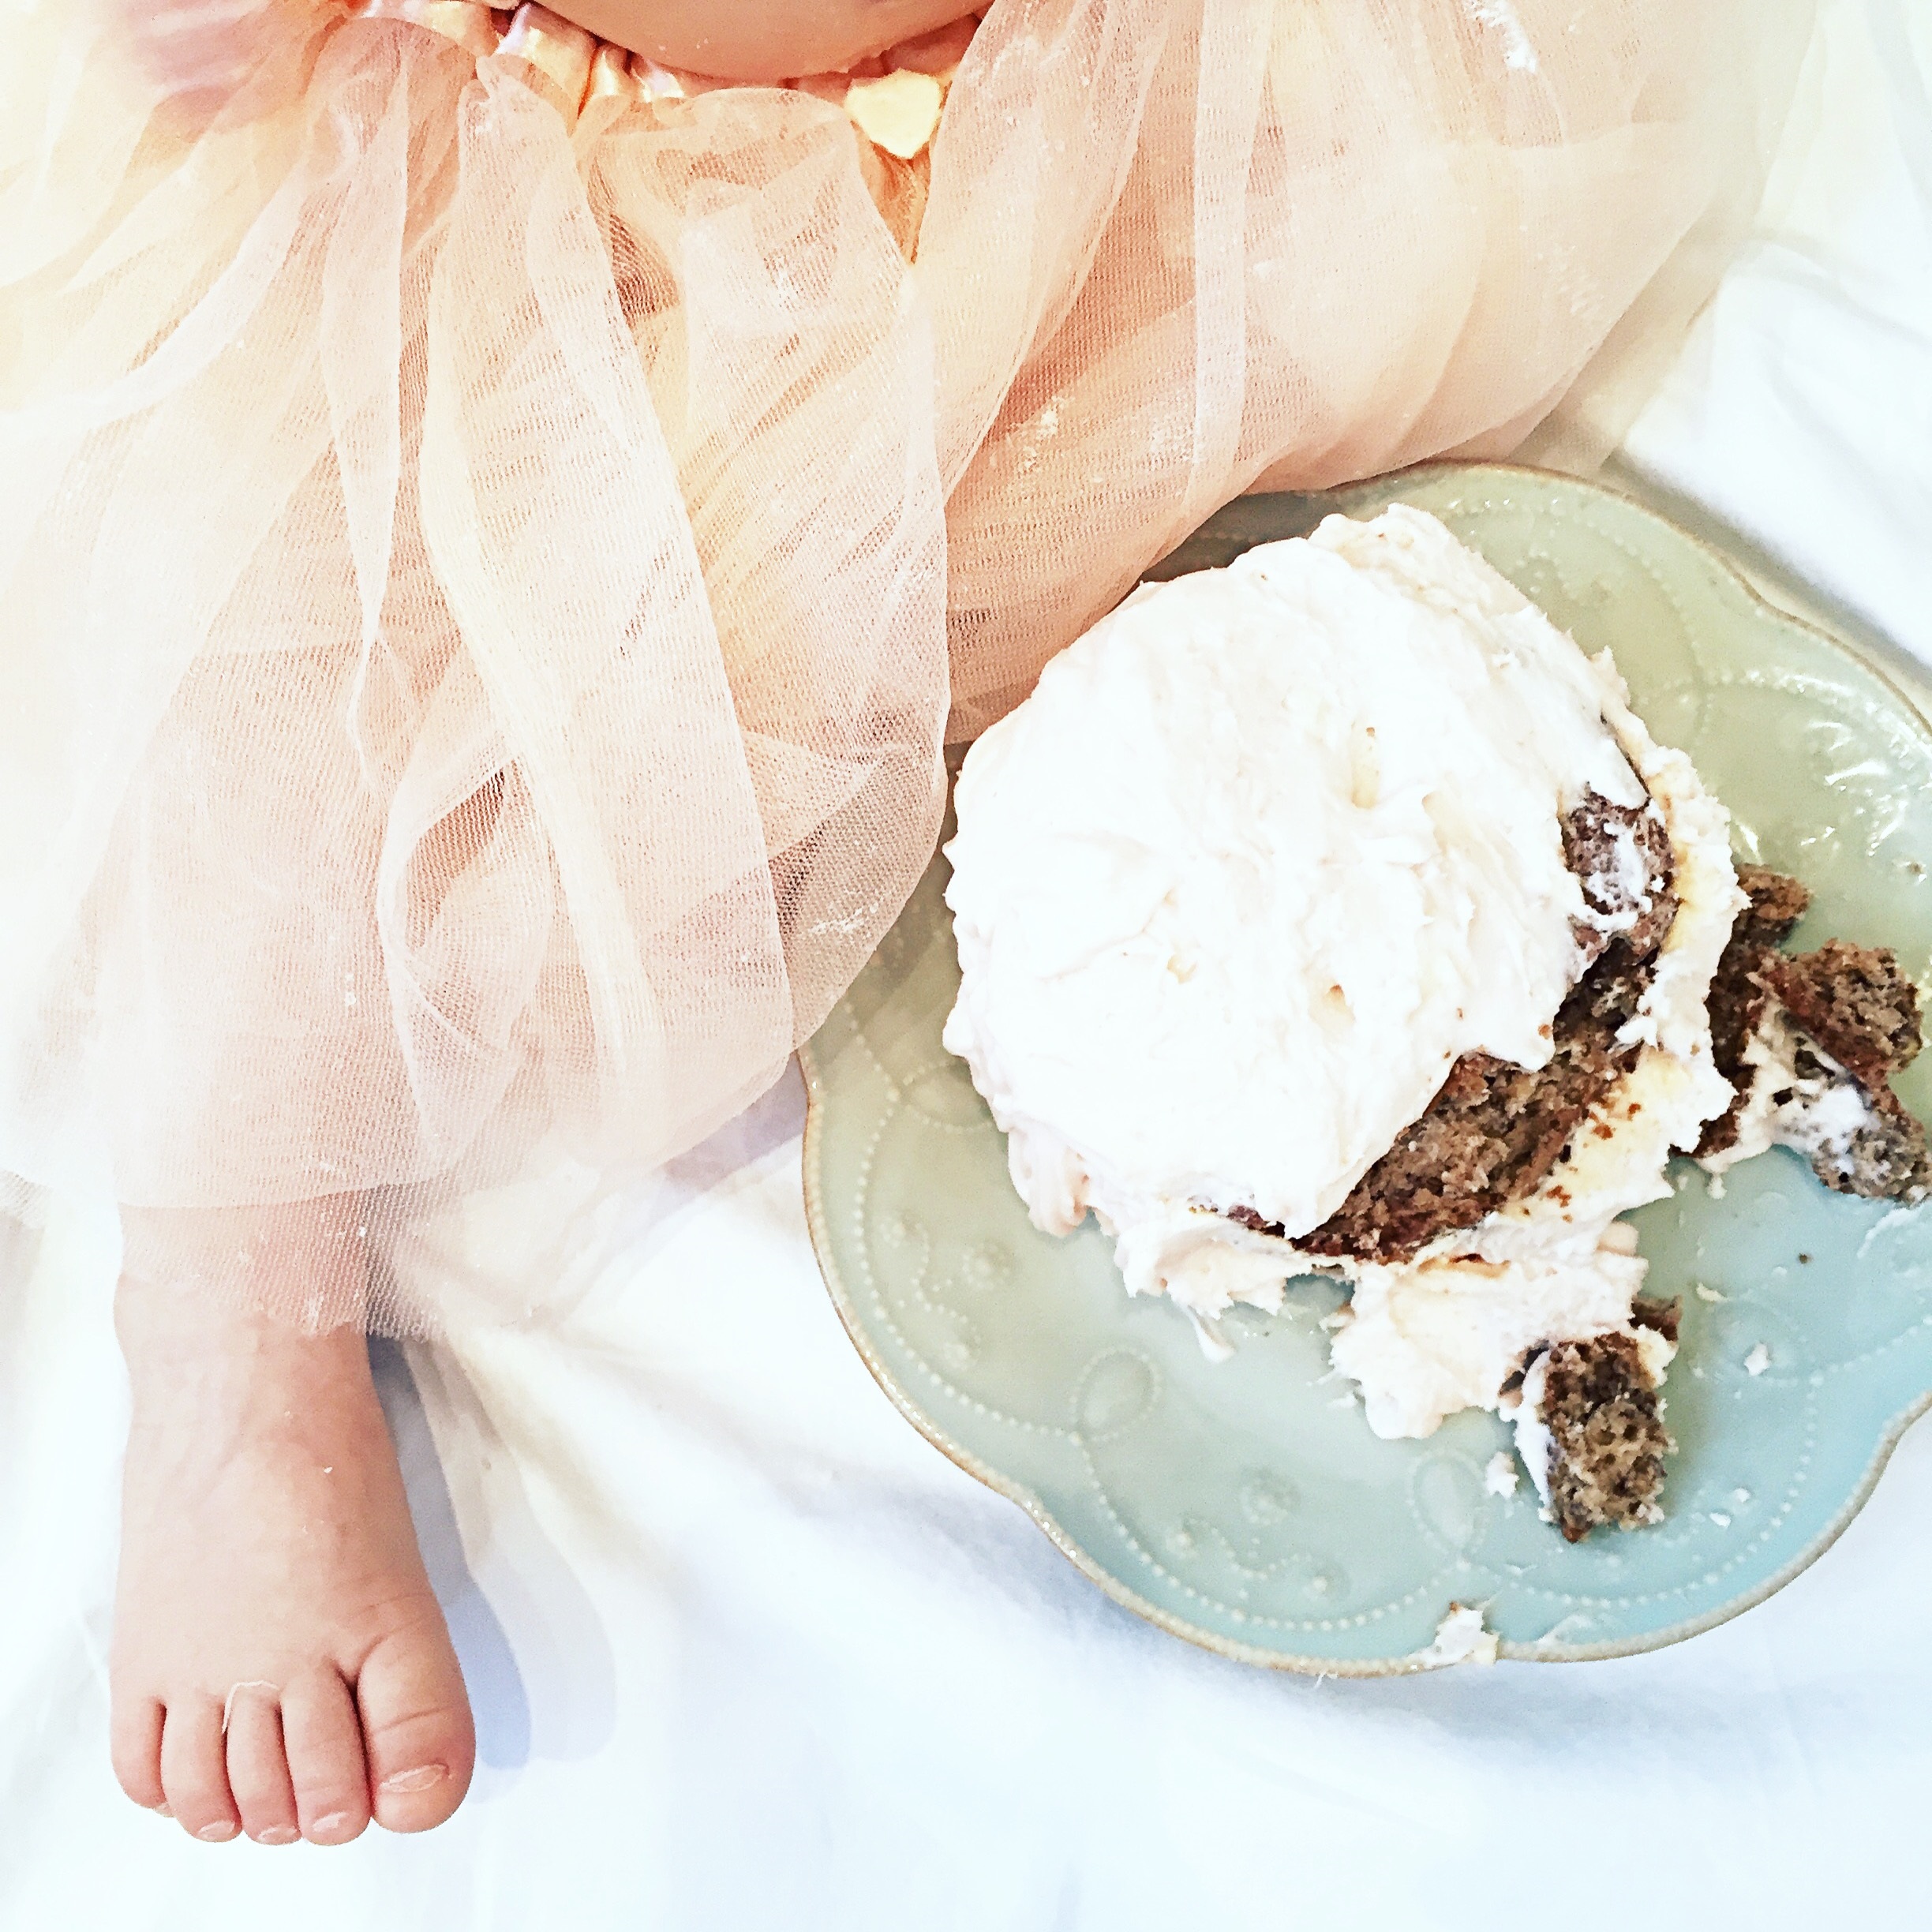
Take detail shots of hands, feet, belly, the cake, etc. instead of only shooting the full spectrum picture. Also take video if you can; you can set up a tripod or just use a chair or stool that’s the right height.
Rinse your backdrop/clothes after the photo shoot and take your baby directly in the bath. Be sure to wear clothes you do not care about so you can carry your baby without ruining your clothes.
Inspiration
I tried my best to edit down the number of photos I wanted to share, but it proved to be quite the challenge. I hope you find some inspiration in our first birthday smash cake photo shoot, and don’t worry, here is the homemade healthy cake recipe (that doesn’t even taste healthy).
I hope you are inspired to do your own birthday smash cake! Save yourself time and money, and please share your own experiences and pictures with me. You may want to check out her Whimsical Woodland First Birthday Party, too and a short video clip from our photo session.


Hi, I'm Lindsay!
Writer. Mom. Wife. Teacher. I'm passionate about family, manners, and learning and fervently stand up for (and write about) what I believe in. I strive to make myself and the world around me better through blogging. Don't forget to never say no to tea, cookie dough, peonies, or kindness.
My Favorite Posts
15 Lessons From My 7-Year-Old Self
March 2, 2016
13 Things I Learned About My Parents After Having a Baby
July 13, 2015

Why It’s Time to Get Rid of Basic B****
November 12, 2015

God Doesn’t Care About Your Last Name
October 16, 2016

