


Like many people, I get swept into this alternative universe called My Pinterest Life. In My Pinterest Life, I contour and highlight my face, wear my hair in tousled beachy waves created by my flat iron and homemade sea salt spray, and have fresh peonies in my house at all times – in every room of the house. In My Pinterest Life, I paint throw pillows, make my own oversized watercolor art, and screen print my own graphic tees. In reality, I do my 5-minute-makeup look the same everyday, wear my hair in pony tails, and do actually have fresh flowers in the house (thanks, husband). In reality, I spend way too much time looking for deals on throw pillows, buy art from Hobby Lobby, and buy my tees from TJ Maxx.
However, blogging has been bridging the gap between reality and My Pinterest Life. I’m always striving to challenge myself to try new things because I’m always thinking, what can I blog about? I could buy some wooden spoons, or I can jazz them up and put it on my blog. So thank you blog for bringing about these DIY Etched Wooden Spoons.
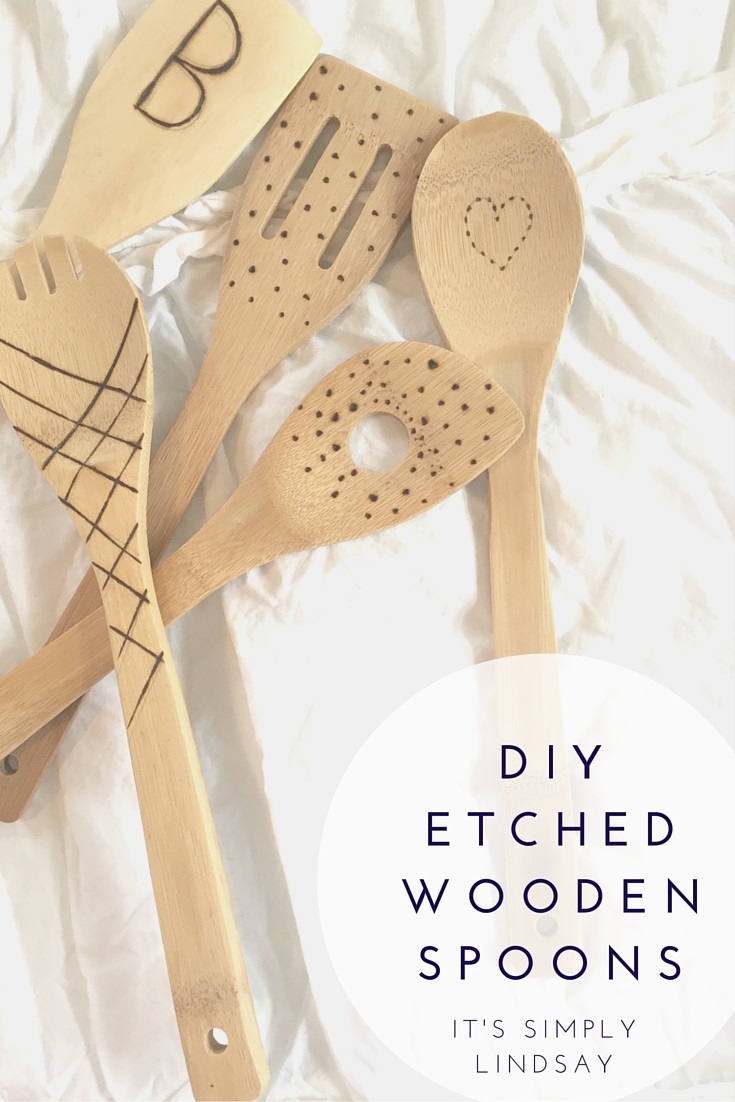
DIY Etched Wooden Spoons
Level:
Easy (and cheap)
Supplies:
- wooden spoons (I got mine from the Dollar Store -score!)
- wooden etcher tool
- pencil
Instructions:
Plug in your wood etcher tool. It gets really hot -seriously – so please be careful! Even the handle gets pretty toasty.
Lightly draw your designs on the spoons with a pencil. It’s okay if you don’t stick exactly on these lines because you will erase them after.
Your tool should come with various tips; choose the tips that best fits your designs. Trace the designs with the etcher; if you have long lines, feel free to stop, pick up the tool, readjust yourself, and continue. It won’t ruin anything.
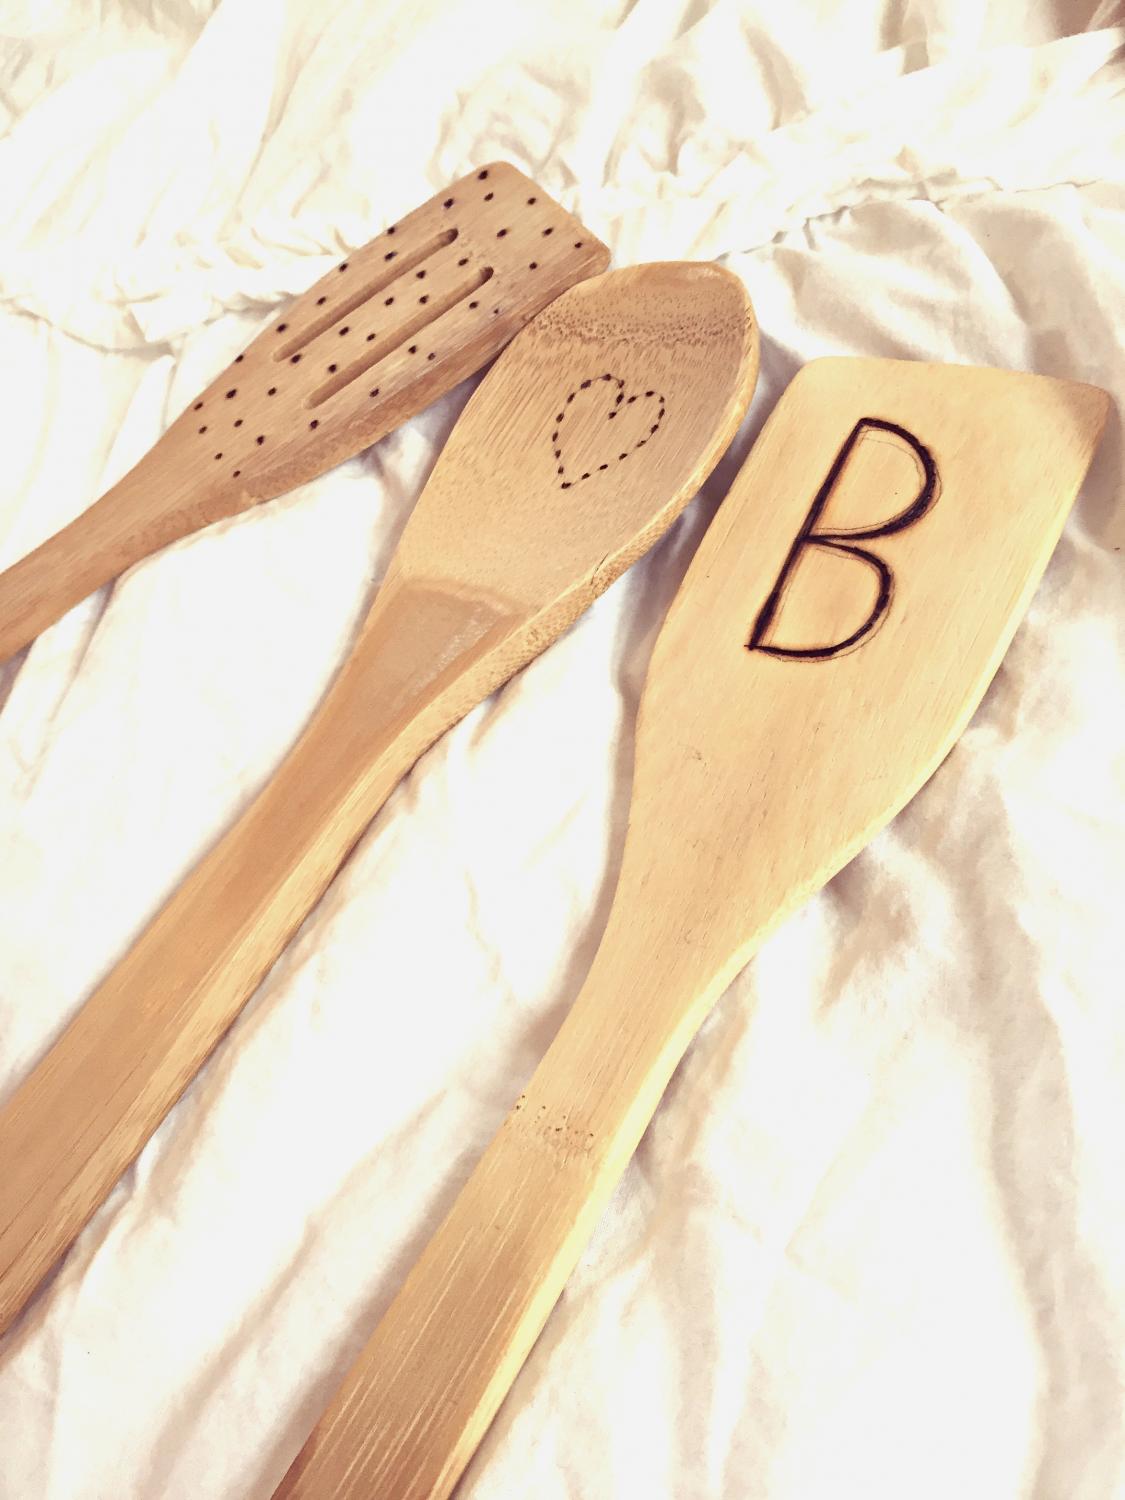
Admire your work. See if there are any lines that are faint and need to be “drawn” over again.
Tips:
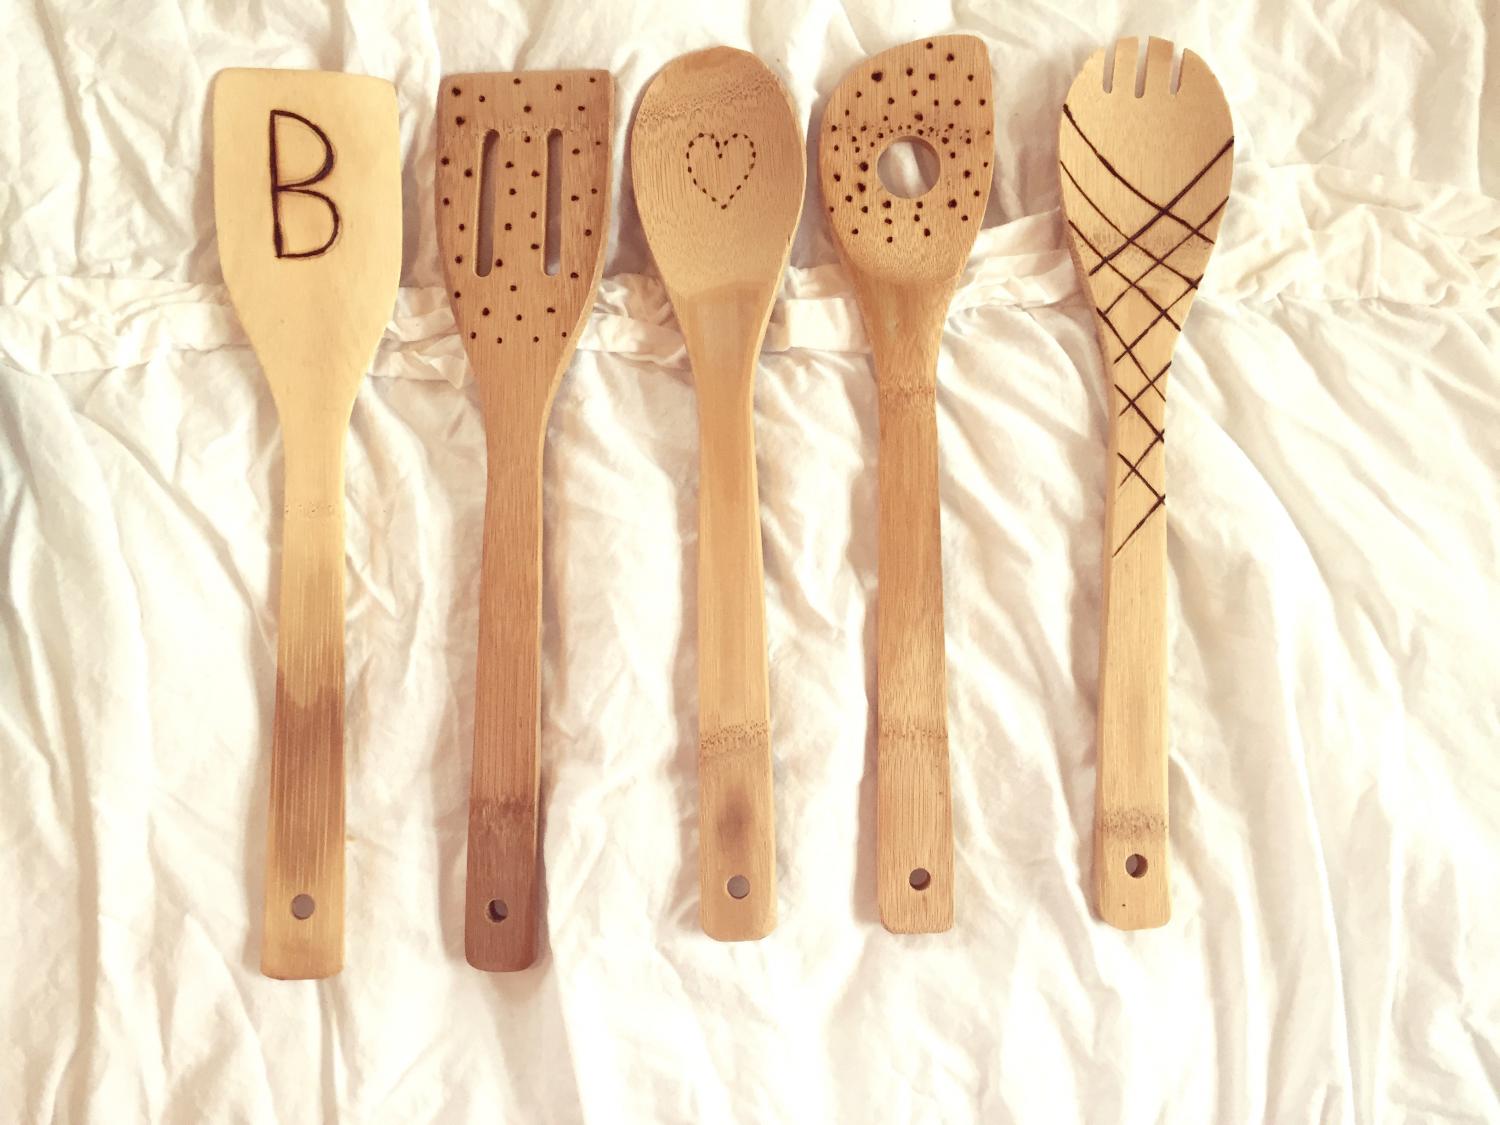
This was my first project with the wood etcher tool, so I kept my designs simple. I also just prefer the simpler, dainty patterns, but feel free to be as intricate as you’d like. From my experience, straight lines and dots are simple; curved lines work, too, they’re just not as easy.
To make dots, just push the tip into the wood, and hold for a few seconds. For larger dots or circles, push down and then swirl the tip back and forth to widen the dot.
Make these personalized spoons for your home, wedding showers, housewarming gifts, or Christmas presents.
Check out these wood burning basics here.

Who is up for a fun DIY project?! Have you bought your wood etching tool yet? Check out other DIY projects: gift wrap, macaroon accessory, fall centerpiece, love story map, mod podge letters.


Hi, I'm Lindsay!
Writer. Mom. Wife. Teacher. I'm passionate about family, manners, and learning and fervently stand up for (and write about) what I believe in. I strive to make myself and the world around me better through blogging. Don't forget to never say no to tea, cookie dough, peonies, or kindness.
My Favorite Posts
15 Lessons From My 7-Year-Old Self
March 2, 2016

13 Things I Learned About My Parents After Having a Baby
July 13, 2015

Why It’s Time to Get Rid of Basic B****
November 12, 2015

God Doesn’t Care About Your Last Name
October 16, 2016

